Langchain‐Chatchat 和 FastChat 结合

[FastChat][FastChat]

安装

# 克隆仓库
git clone https://github.com/lm-sys/FastChat
cd FastChat

# 创建虚拟环境
python -m venv env
source env/bin/activate

# 安装
pip install --upgrade pip
pip install -e ".[model_worker,webui]"

创建大模型链接

LLM

mkdir THUDM
ln -s /Users/junjian/HuggingFace/THUDM/chatglm3-6b THUDM/chatglm3-6b

Embedding Model

mkdir BAAI
ln -s /Users/junjian/HuggingFace/BAAI/bge-base-zh-v1.5 BAAI/bge-base-zh-v1.5

启动服务 Controller

python -m fastchat.serve.controller

启动服务 Model Worker LLM python -m fastchat.serve.
Qwen (通义千问)

快速开始

克隆代码

git clone https://github.com/QwenLM/Qwen.git
cd Qwen

创建虚拟环境

python -m venv env
source env/bin/activate

安装依赖

pip install -r requirements.txt

创建大模型链接

mkdir Qwen
ln -s /Users/junjian/HuggingFace/Qwen/Qwen-14B-Chat Qwen/Qwen-14B-Chat
ln -s /Users/junjian/HuggingFace/Qwen/Qwen-1_8B Qwen/Qwen-1_8B
ln -s /Users/junjian/HuggingFace/Qwen/Qwen-1_8B-Chat Qwen/Qwen-1_8B-Chat
ln -s /Users/junjian/HuggingFace/Qwen/Qwen-7B-Chat Qwen/Qwen-7B-Chat

聊天

  • 命令行聊天
python cli_demo.py
  • Web 聊天
python web_demo.py

FastChat

克隆代码

git clone https://github.com/lm-sys/FastChat
cd FastChat

创建虚拟环境 python -m venv env source env

MLX LLMS Examples

MLX Examples

克隆代码

git clone https://github.com/ml-explore/mlx-examples
cd mlx-examples

创建虚拟环境

python -m venv env
source env/bin/activate

pip install -r llms/phi2/requirements.txt
pip install -r llms/qwen/requirements.txt

创建大模型链接 mkdir llms/phi2/microsoft ln -s /Users/junjian/HuggingFace/microsoft/phi-2 llms/phi2/microsoft/phi-2 mkdir llms/qwen/Qwen ln -s /Users/junjian/HuggingFace/Qwen/Qwen-14B-Chat llms/qwen/Qwen/Qwen-14B-Chat ln -s /Users/junjian/HuggingFace/Qwen/Qwen-1_8B llms/qwen/Qwen/Qwen-1_8B ln -s /Users/junjian/HuggingFace/Qwen/Qwen-1_8B-Chat llms/qwen/Qwen/Qwen-1_8

MLX: An array framework for Apple silicon

MLX

统一内存:与 MLX 和其他框架的显着区别是统一内存模型。 MLX 中的数组位于共享内存中。 MLX 阵列上的操作可以在任何支持的设备类型上执行,而无需传输数据。

MLX Documentation

创建虚拟环境

mkdir ml-explore && cd ml-explore
git clone https://github.com/ml-explore/mlx
git clone https://github.com/ml-explore/mlx-examples

python -m venv env
source env/bin/activate

Phi-2

  • 安装依赖包
cd llms/phi2
pip install -r requirements.txt
  • 模型下载和转换

使用已经下载的模型

mkdir microsoft
ln -s /Users/junjian/HuggingFace/microsoft/phi-2 microsoft/phi-2

转换模型

python convert.py

这将生成 MLX 可以读取的 weights.npz 文件。

-rw-r--r--  1 junjian  staff   5.2G 12 20 20:36 weights.npz
  • 运行

Microsoft Phi-2

Phi-2: The surprising power of small language models

microsoft/phi-2

创建虚拟环境

conda create -n huggingface python==3.10.9
conda activate huggingface

安装依赖包

conda install pytorch torchvision -c pytorch
pip install transformers
pip install einops

下载模型

huggingface-cli download microsoft/phi-2 --local-dir microsoft/phi-2 --local-dir-use-symlinks False

代码 import torch from transformers import AutoModelForCausalLM, AutoTokenizer torch.set_default_device("mps") model = AutoModelForCausalLM.

SDXL Turbo

下载代码

git clone https://github.com/Stability-AI/generative-models.git Stability-AI/generative-models
cd Stability-AI/generative-models/

创建虚拟环境

python -m venv env
source env/bin/activate
pip install -r requirements/pt2.txt
pip install .

Apple Silicon 上没有安装成功,安装包 triton 不支持

下载模型

pip install "huggingface_hub[cli]"

SDXL-Turbo

huggingface-cli download stabilityai/sdxl-turbo --local-dir checkpoints --local-dir-use-symlinks False

CLIP huggingface-cli download openai/clip-vit-large-patch14 --lo

Text Generation Inference

TGI 介绍

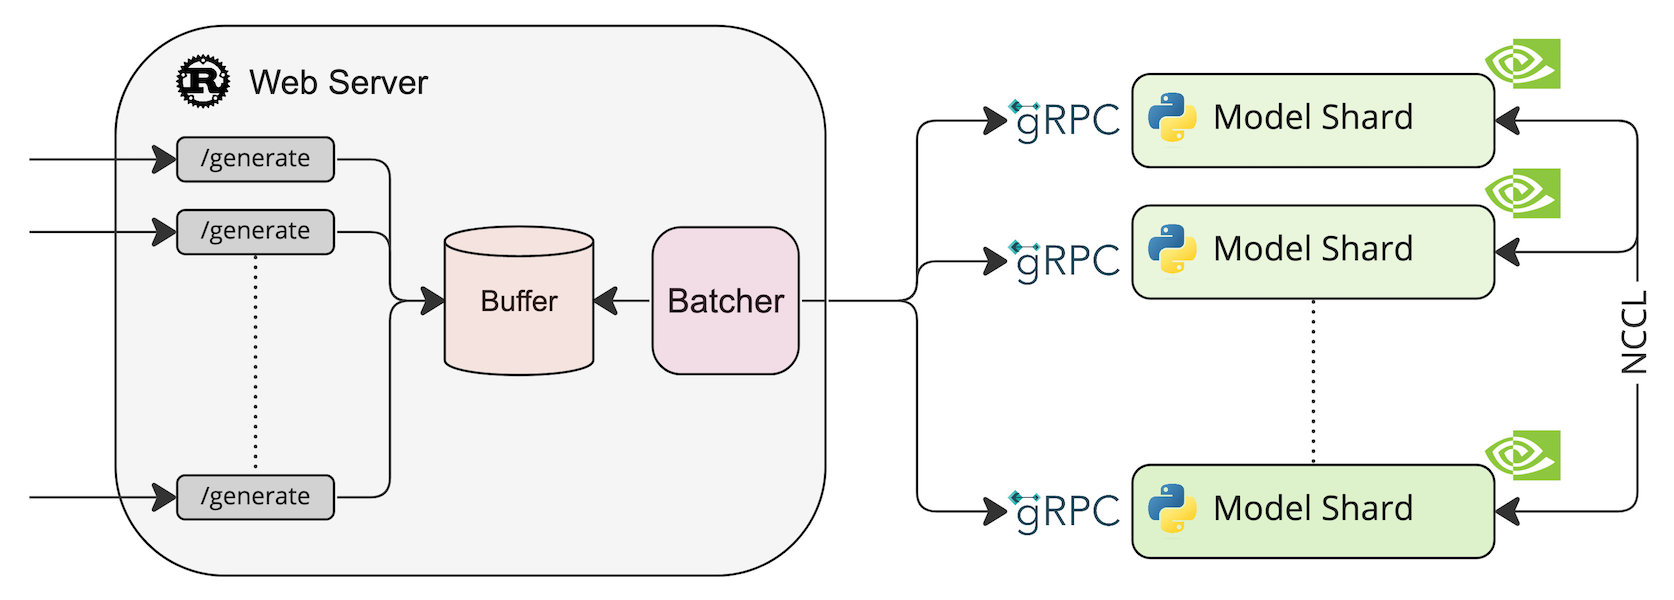
TGI 是一个用于部署和服务大型语言模型(LLM)的工具包。 TGI 为最流行的开源 LLM 提供高性能文本生成,包括 Llama、Falcon、StarCoder、BLOOM、GPT-NeoX 和 T5 。

  • 张量并行性,可在多个 GPU 上进行更快的推理
  • 批处理连续传入的请求,以增加总吞吐量
  • 在最流行的架构上使用 [Flash Attention][Flash-Attention] 和 [Paged Attention][Paged-Attention] 优化 Transformers 代码进行推理
  • 使用 [bitsandbytes][bitsandbytes] 和 [GPT-Q][GPT-Q] 进行量化
  • [safetensors][safetensors] 权重加载
  • 给模型输出加水印(Watermark)
  • 微调支持:定制针对特定任务的微调模型来实现更高的准确性和性能

系统架构

部署模型 HuggingFaceH4/zephyr-7b-beta model=HuggingFaceH4/zephyr-7b-beta volume=$PWD/data # Avoid downloading weights every run docker run --

使用 Ollama 构建本地聊天服务

Ollama

部署

ollama run llama2

通过 API 访问

curl http://localhost:11434/api/generate -d '{
  "model": "llama2",
  "prompt": "Why is the sky blue?",
  "stream": false
}'

ollama 帮助 ollama --help Large language model runner Usage: ollama [flags] ollama [command] Available Commands: serve Start ollama create Create a model from a Modelfile show Show information for a model run Run a model pull Pull a model from a registry push Push a model to a registry list List models cp Copy a model rm Remove a model help Help about any comman

Copilot for CLI

Copilot for CLI

GitHub CLI

在 macOS 安装 GitHub CLI

  • 安装
brew install gh
  • 升级
brew upgrade gh
  • 登录
gh auth login
? What account do you want to log into? GitHub.com
? What is your preferred protocol for Git operations on this host? HTTPS
? Authenticate Git with your GitHub credentials? Yes
? How would you like to authenticate GitHub CLI? Login with a web browser

! First copy your one-time code: EA2E-F864
Press Enter to open github.com in your browser... 
✓ Authentication complete.
  • 查看登录状态
gh auth status
github.com
  ✓ Logged in to github.com account wang-junjian (keyring)
  - Active account: true
  - Git operations protocol: https
  - Token: gho_************************************
  - Token scopes: 'gist', 'read:org', 'repo', 'workflow'

使用 llama.cpp 构建本地聊天服务

llama.cpp

  • 纯 C/C++ 实现
  • Apple 芯片 ARM NEON, Accelerate, Metal
  • x86 架构 AVX, AVX2, AVX512
  • 混合F16/F32精度
  • 整数量化 2-bit, 3-bit, 4-bit, 5-bit, 6-bit, 8-bit
  • 后端支持 CUDA, Metal, OpenCL GPU

构建

❶ 克隆 [llama.cpp][llama.cpp] 仓库

git clone https://github.com/ggerganov/llama.cpp.git
cd llama.cpp

❷ make

make -j

❸ 安装依赖

pip install -r requirements.txt

获得 Facebook LLaMA2 模型

可以从 TheBloke 下载已转换和量化的模型。

下载 GGUF 模型

huggingface-cli pip install huggingface_hub REPO_ID=TheBloke/Llama-2-7B-chat-GGUF FILENAME=llama-2-7b-chat.Q4_K_M.

TensorRT-LLM 大模型推理

[TensorRT-LLM][TensorRT-LLM]

TensorRT-LLM 为用户提供了易于使用的 Python API 来定义大型语言模型 (LLM) 并构建包含最先进优化的 TensorRT 引擎,以便在 NVIDIA GPU 上高效地执行推理。 TensorRT-LLM 还包含用于创建执行这些 TensorRT 引擎的 Python 和 C++ 运行时的组件。

Build TensorRT-LLM

# TensorRT-LLM uses git-lfs, which needs to be installed in advance.
apt-get update && apt-get -y install git git-lfs

git clone https://github.com/NVIDIA/TensorRT-LLM.git
cd TensorRT-LLM
git submodule update --init --recursive
git lfs install
git lfs pull

make -C docker release_build

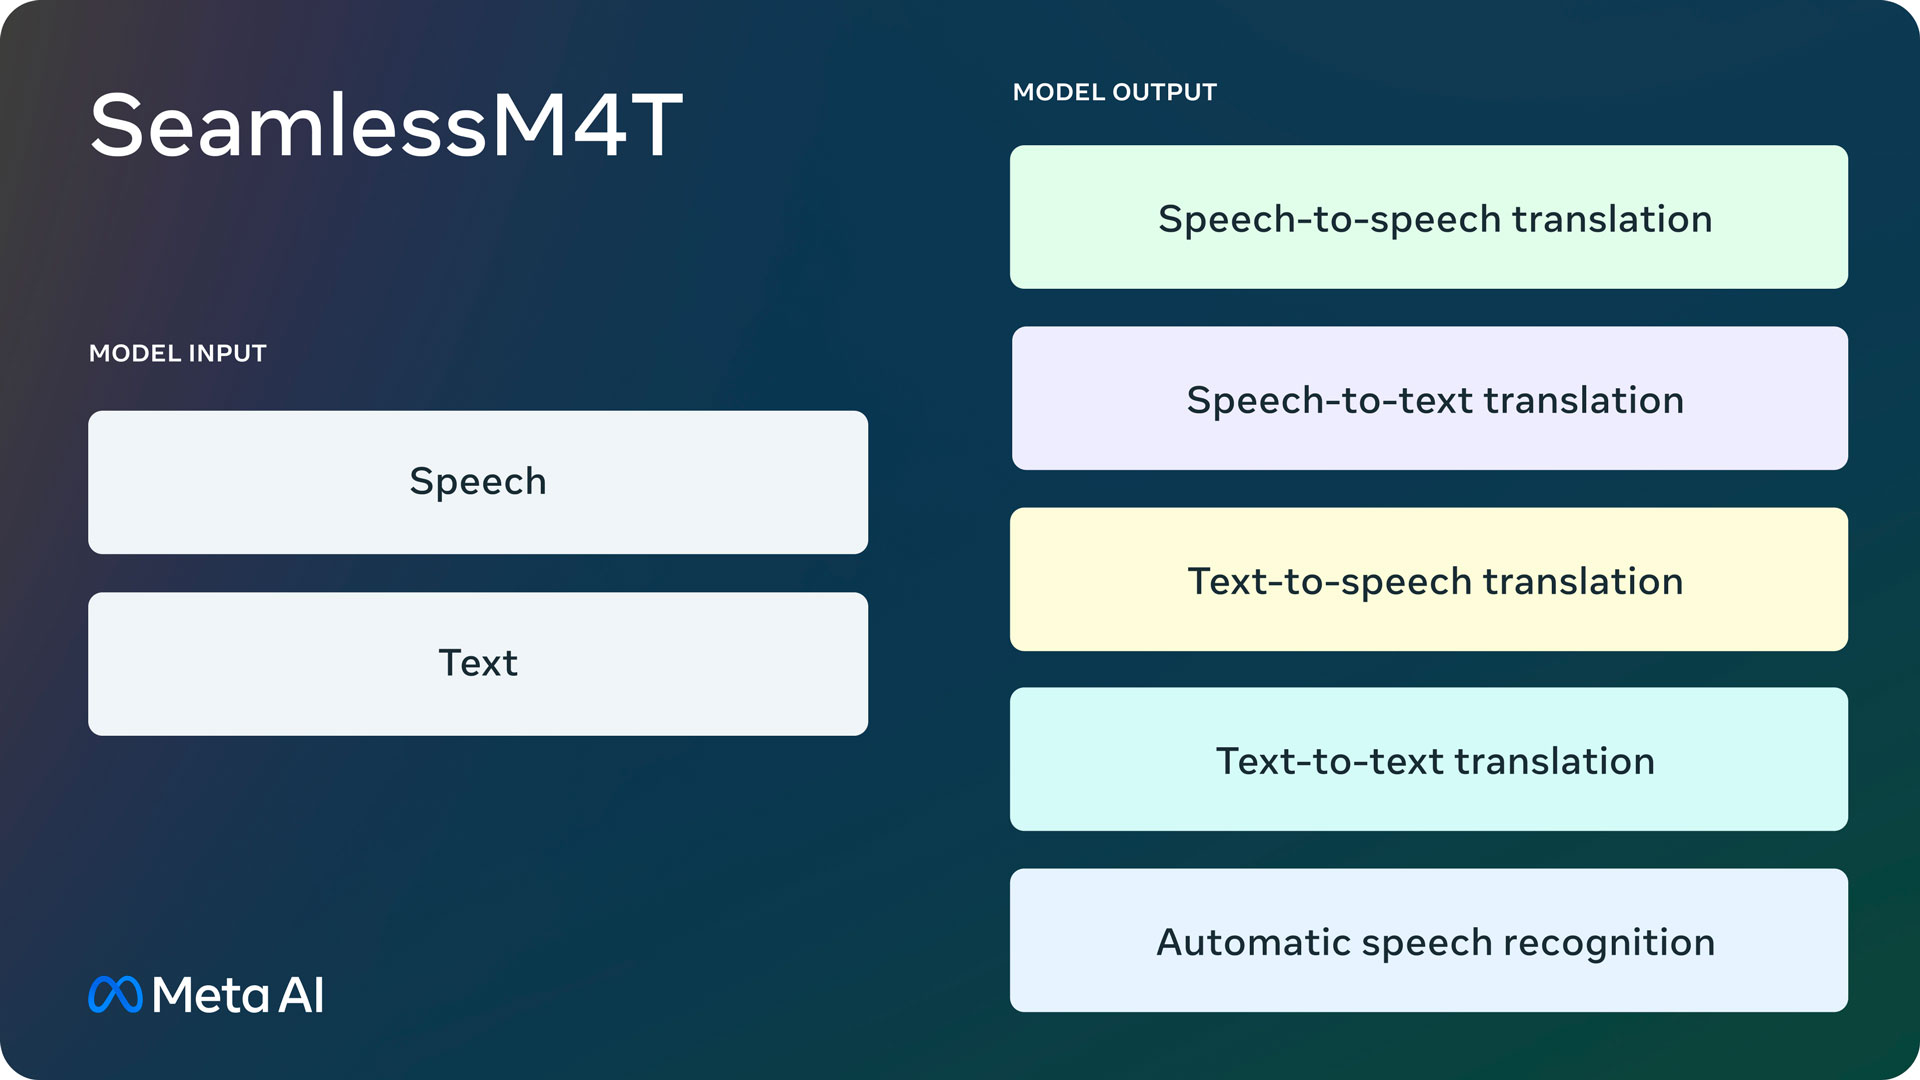
SeamlessM4T — Massively Multilingual & Multimodal Machine Translation(大规模多语言和多模式机器翻译)

Seamless Communication

  • ASR: Automatic speech recognition for 96 languages.
  • S2ST: Speech-to-Speech translation from 100 source speech languages into 35 target speech languages.
  • S2TT: Speech-to-text translation from 100 source speech languages into 95 target text languages.
  • T2ST: Text-to-Speech translation from 95 source text languages into 35 target speech languages.
  • T2TT: Text-to-text translation (MT) from 95 source text languages into 95 target text languages.

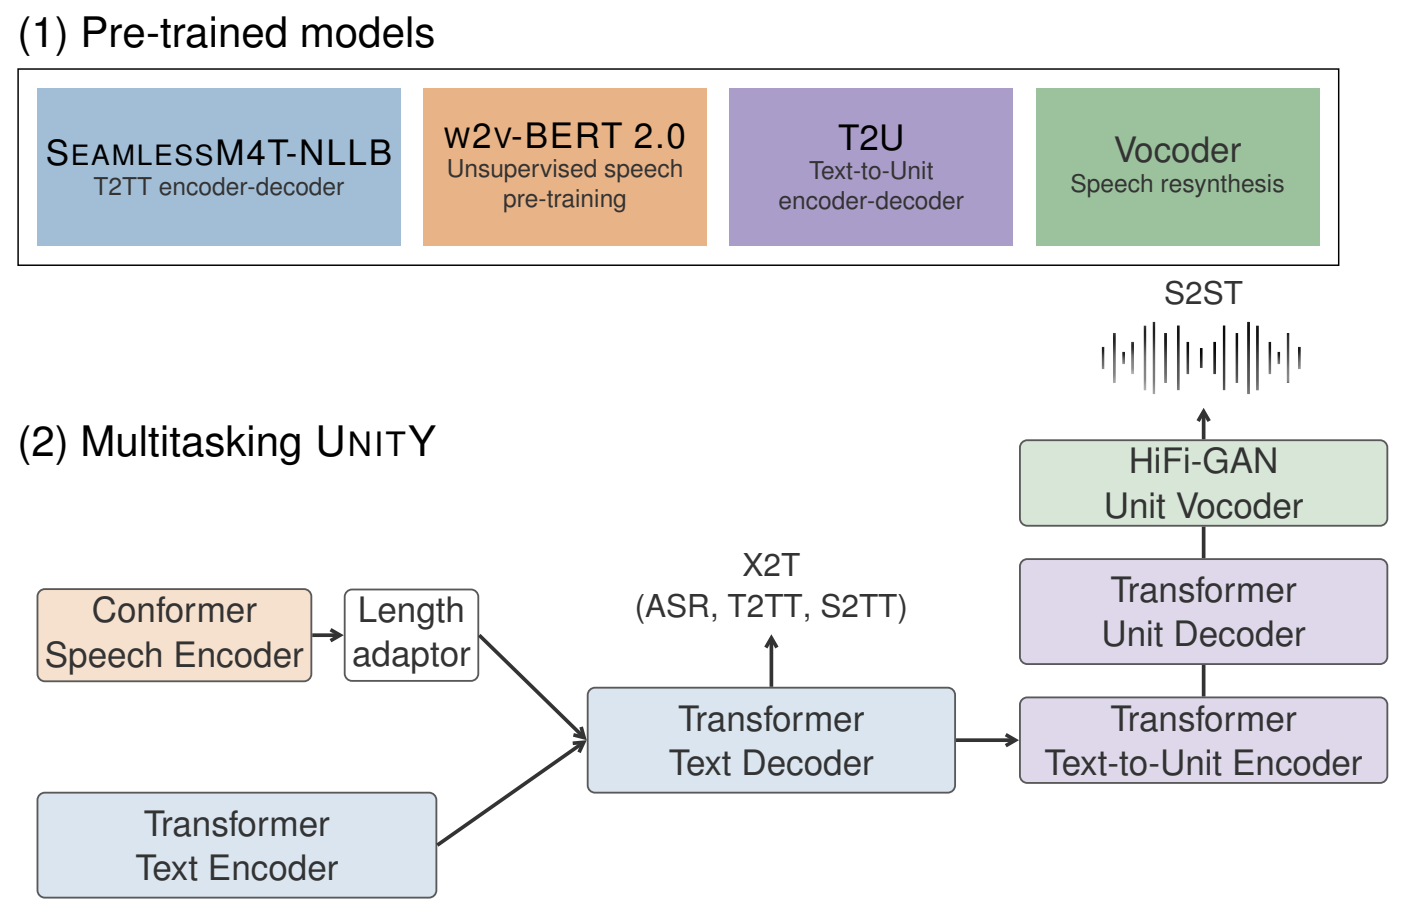
SeamlessM4T 概述

安装 [Seamless Communication][seamless_communication]

克隆仓库 git clone https://github.

基于 ChatGLM3 8k 和 32k 的文档问答对比

文档

这里使用的文档是:合作方人员出勤及结算管理信息化支撑规则

一、出勤打卡
出勤打卡包括:正常出勤打卡、出差打卡、外出打卡、加班打卡。

1. 正常出勤打卡:指正常的出勤办公打卡。
(1)全天出勤打卡:上班打卡:8点30分之前打卡。下班打卡:17点30分之后打卡。
(2)半天出勤打卡。上午打卡时间段:8点30分之前、12点之后。下午时间段:13点之前,17点30分之后。
(3)打卡(考勤机或企业微信打卡)形式按部门要求为准,最小半天为统计单位。

2. 出差打卡:指出差地出勤办公或在途期间打卡。
(1)固定出差地打卡:打卡时间参照第1条正常出勤上下班打卡;无法定位有效范围的找部门管理员修改工作打卡位置。(具体按照各部门要求执行)
(2)出差在途打卡(使用手机外出打卡)。到车站坐车前打外出打卡一次,到达目的地后打外出打卡一次(往返同理)。下午出差的,上午需打正常出勤卡(上午正常出勤须闭环打卡);上午到达出差地的,下午需打一次外出打卡或上下班打卡。

3. 外出打卡:指外出办事打卡。提外出申请后,可以打外出卡,打外出卡时间需在申请时间内:
(1)半天外出:如外出时间在上午(12点前) 或者下午(12点后),则另外半天需正常出勤打卡。
(2)跨12点外出:如外出跨度期间包含12点,则12点前、12点后分别打外出卡即可记为合格出勤。
// ...

提示词模板 """ {

GPT4All

下载 GPT4All 客户端(macOS)

下载模型

聊天

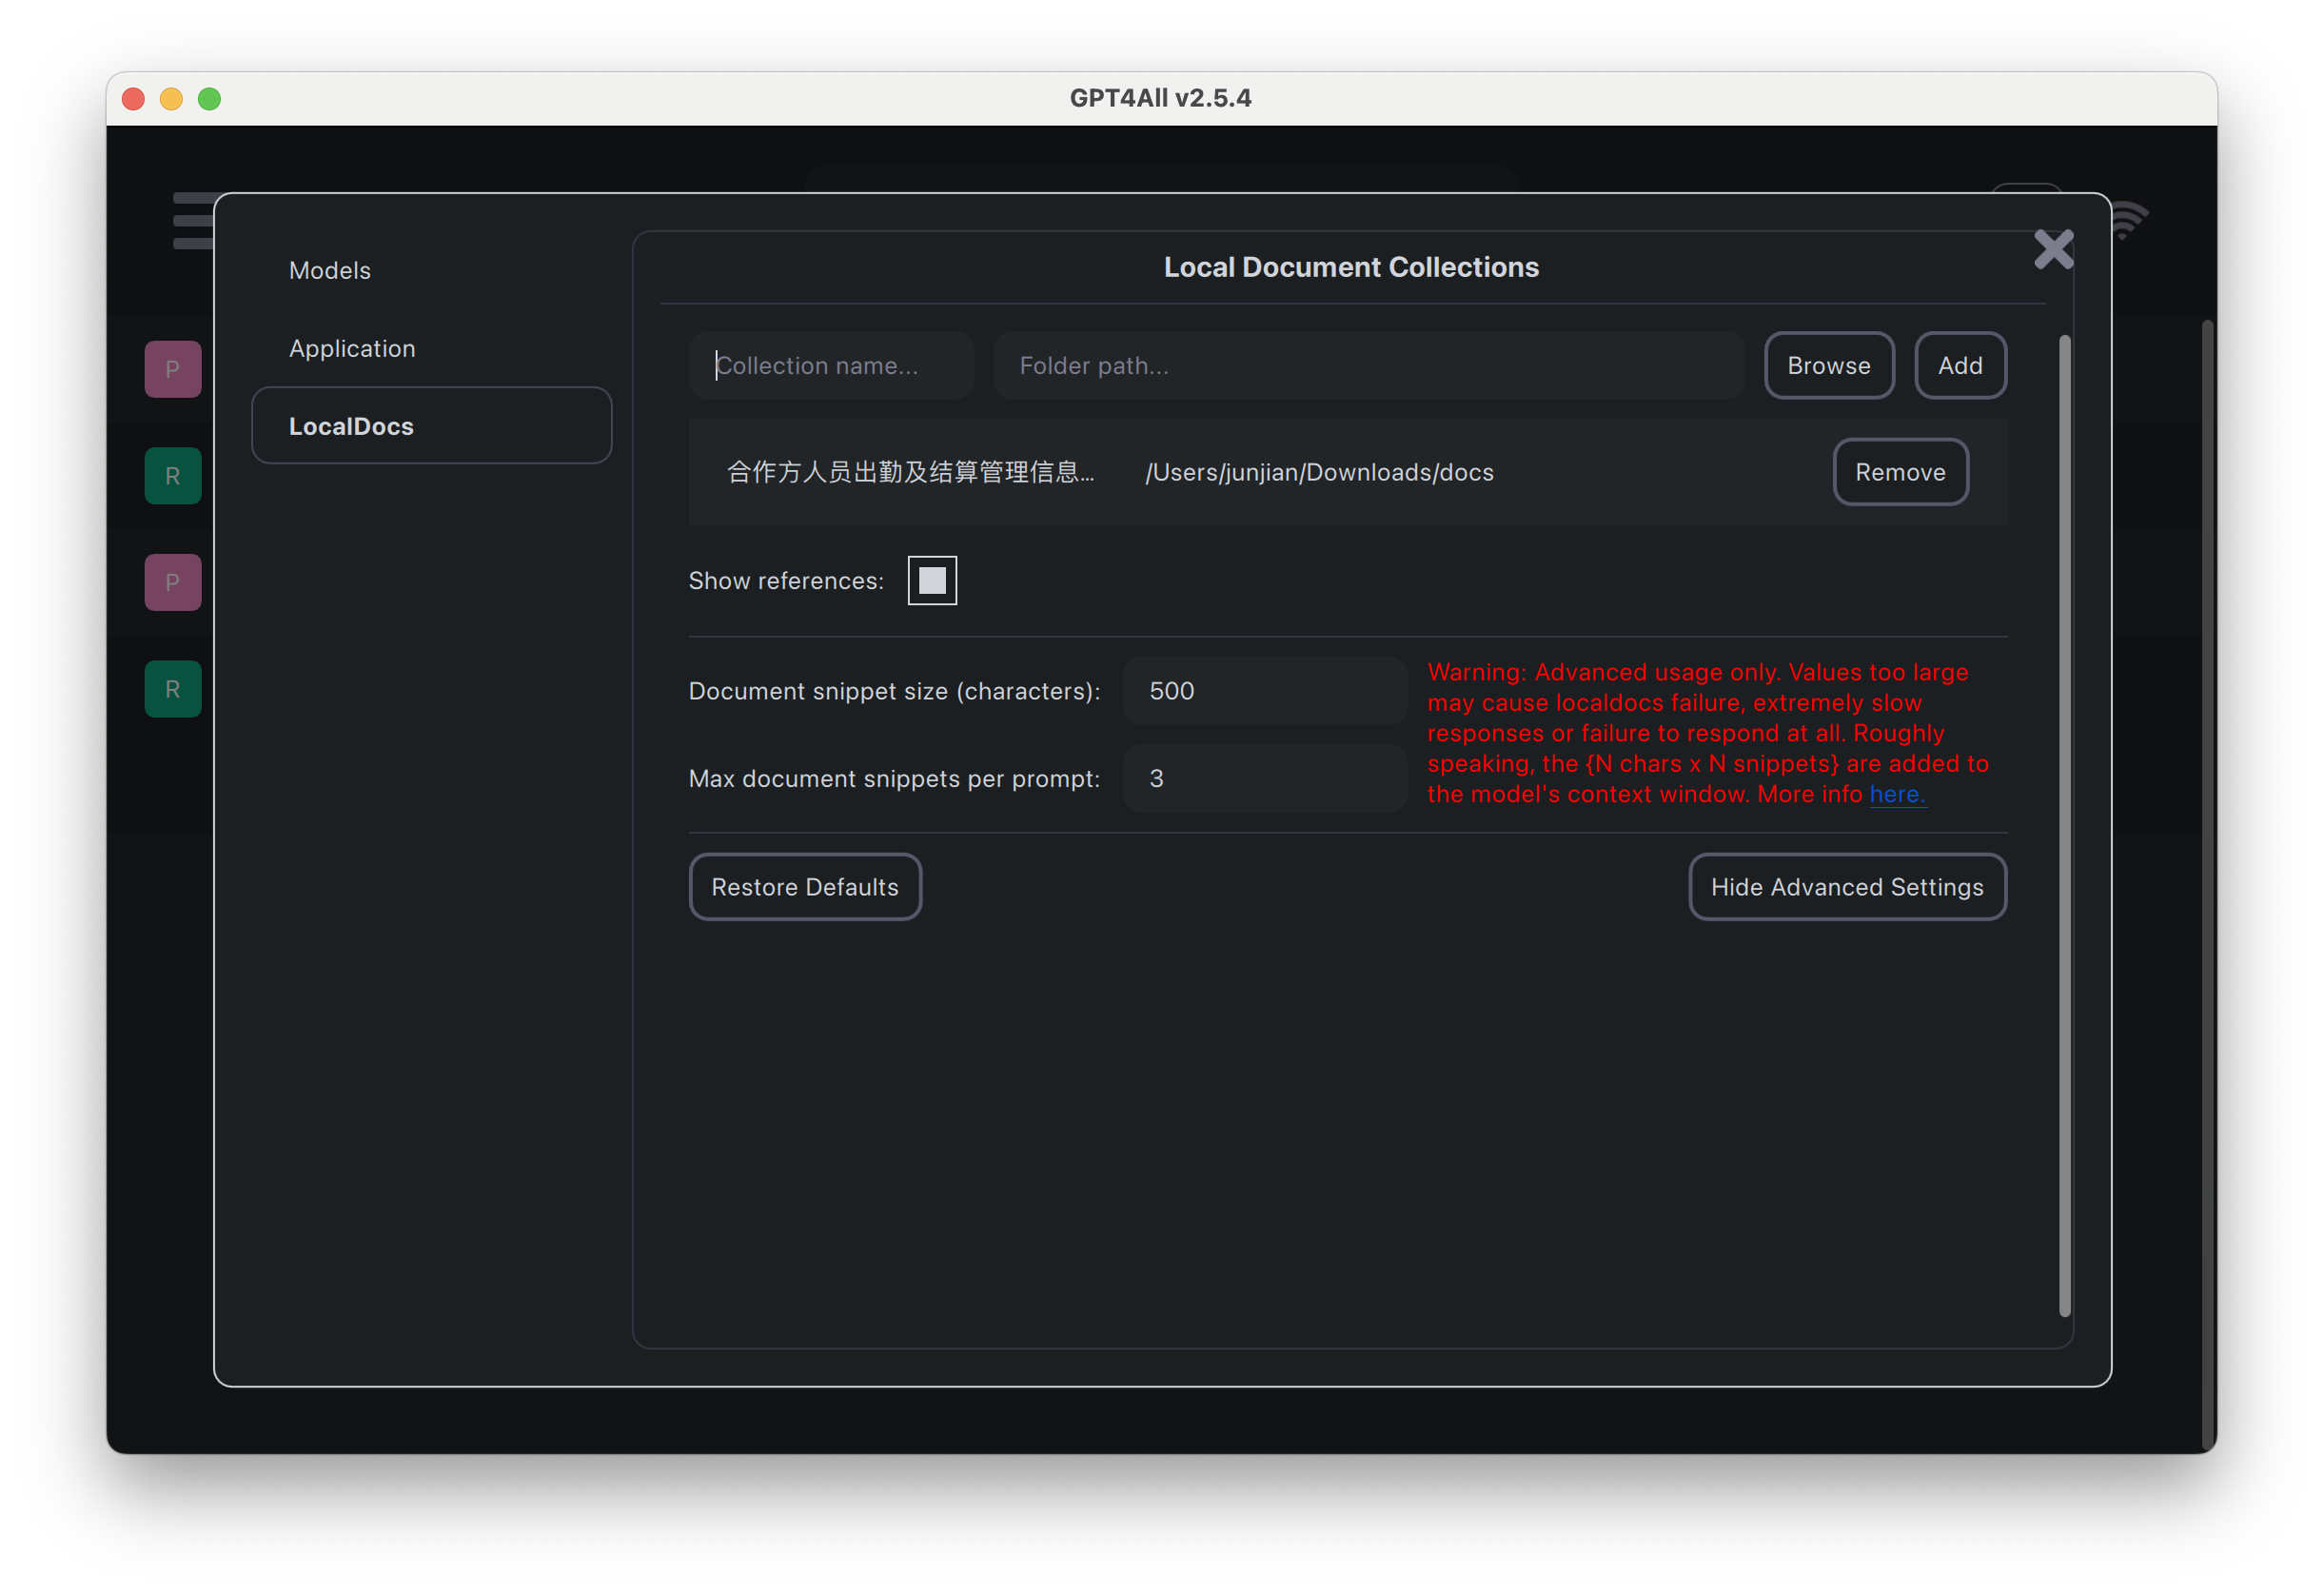
基于目录构建本地文档集合

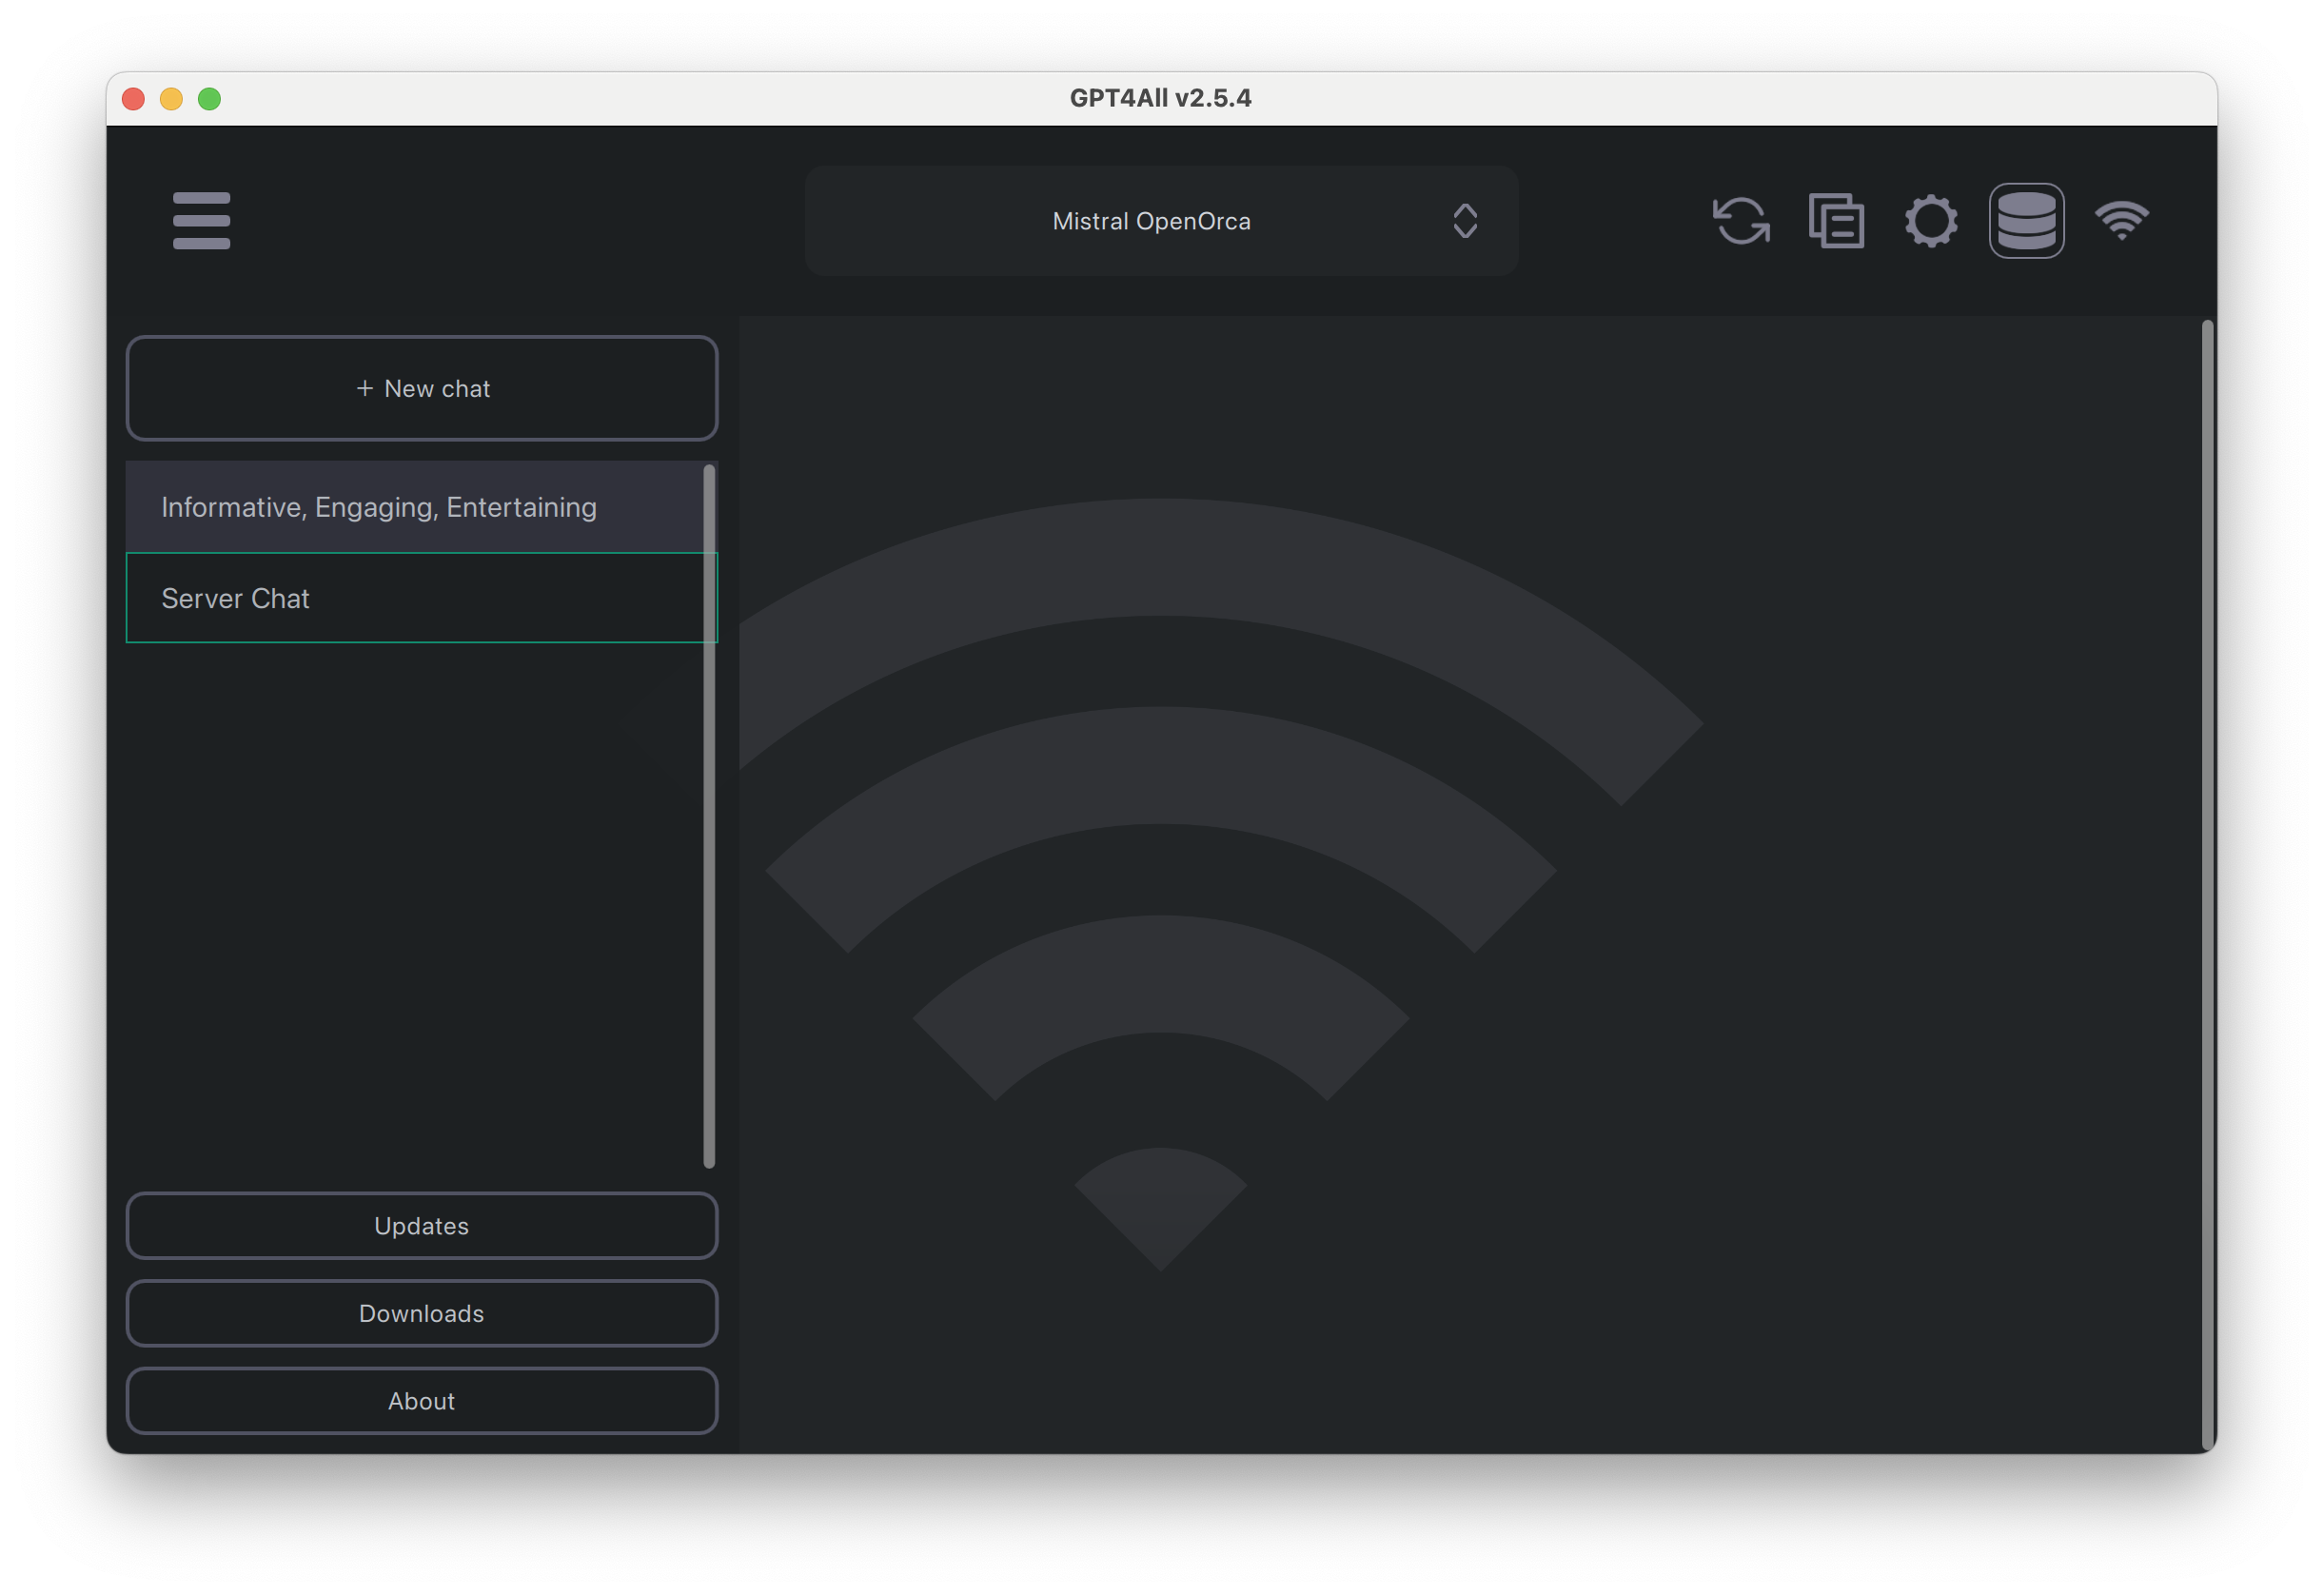
本地服务

  1. 启用 API 服务器
  1. 打开服务聊天窗口

查看本地下载的模型 ll /Users/junjian/Library/Application\ Support/nomic.ai/GPT4All/*.gguf -rw-r--r--@ 1 junjian staff 44M 12 3 10:30 /Users/junjian/Library/Application Support/nomic.ai/GPT4All/all-MiniLM-L6-v2-f16.gguf -rw-r--r--@ 1 junjian staff 1.3G 12 3 12:53 /Users/junjian/Library/Application Support/nomic.ai/GPT4All/incomplete-nous-hermes-llama2-13b.Q4_0.gguf -rw-r--r--@ 1 junjian staff 3.8G 12 3 10:09 /Users/junjian/Library/Application Support/nomic.ai/GPT4All/mistral-7b-openorca.Q4_0.gguf -rw-r--r--@ 1 junjian staff 3.

在 Mac 上安装 NGINX

安装

brew update
brew install nginx

启动服务

brew services start nginx
Docroot is: /opt/homebrew/var/www

The default port has been set in /opt/homebrew/etc/nginx/nginx.conf to 8080 so that
nginx can run without sudo.

nginx will load all files in /opt/homebrew/etc/nginx/servers/.

To start nginx now and restart at login:
  brew services start nginx
Or, if you don't want/need a background service you can just run:
  /opt/homebrew/opt/nginx/bin/nginx -g daemon\ off\;
  • 编辑 /opt/homebrew/etc/nginx/nginx.conf 修改端口号
  • 编辑 /opt/homebrew/var/www/index.html 修改默认页面

停止服务

brew services stop nginx

重启服务 brew services restar