12 篇文章带有标签 “ssh”

Reachy Mini 机器人

Reachy Mini

2025年12月买的 Reachy Mini 机器人,近5个月终于到手了。

购买链接

介绍

Reachy Mini 是由法国机器人公司 Pollen Robotics 开发的一款开源的桌面级人形机器人,旨在为教育、研究和创意项目提供一个灵活且易于使用的平台。Reachy Mini 是 Reachy 机器人的小型版本,具有相似的功能和设计,但体积更小,更适合在桌面环境中使用。

硬件版本

功能特性 Wireless (无线版) Lite (轻量版)
价格 449449 299
电机与机械结构 9 个伺服电机 9 个伺服电机
头部运动 6 自由度 (pitch, roll, yaw, x, y, z) 6 自由度 (pitch, roll, yaw, x, y, z)
身体旋转 ±160° ±160°
天线 2 个动力感应天线 2 个动力感应天线
摄像头 广角摄像头 广角摄像头
麦克风 4 麦克风阵列 4 麦克风阵列
扬声器 5W 扬声器 5W 扬声器
板载算力 树莓派 CM 4 (16GB 存储) -
加速计 内置 IMU -
Wi-Fi 连接 支持 -
独立模式 支持 需通过 USB 连接控制
供电方式 电池供电 + 电源适配器 (7.3V / 5A) 仅限电源适配器 (7.3V / 5A)

开箱与初体验 Welcome to Reachy Mini!
OpenWrt

DIY自己的软路由系统

LEDE

我买了一个使用 Intel 赛扬处理器的路由器。主要是为了搭梯子,2020年的时候网上编译好的系统不支持 TROJAN 协议,所以我自己使用 LEDE 编译。他的 SSR Plus+ 组件支持 SS/SSR/V2RAY/TROJAN 等协议.

  • Images built after May 31 2020 are based on Ubuntu 18.04.
  • x86 This image has 26G, and the dependent software packages and compiled binaries are in it. It can be used directly for x86, or it can be recompiled through simple configuration.
  • x86-bin This image contains only x86 binaries generated by compilation.

Compile your own LEDE system. Compile: docker run -it --name=lede gouchicao/lede:x86 git pull ./scripts/feeds update -a && .

远程执行Shell命令

安装 Fabric

pip3 install fabric

远程执行 Shell 命令脚本(remote_execute_shell_command.py) #!/usr/bin/python import argparse from fabric import Connection, Config # 您要远程操作的计算机,username@ip HOSTS = ['root@192.168.0.1', 'root@192.168.0.2'] PASSWORDS = ['admin', 'admin'] if name == 'main': parser = argparse.ArgumentParser() parser.add_argument('-c', '--command', type=str, help='execute shell command.') args = parser.parse_args() if not args.command: args.command = 'uname -a' print('➜ Execute shell command: ', args.

AI 数据集打包发布

数据集打包目录结构

ai-project/
├── labelimg
│   ├── 1.jpg
│   ├── 1.xml
│   ├── 2.jpg
│   ├── 2.xml
│   ├── 3.jpg
│   ├── 3.xml
│   ├── 4.jpg
│   └── 4.xml
├── classes.txt
├── data.yaml
├── images
│   ├── train
│   │   ├── 1.jpg
│   │   └── 2.jpg
│   └── val
│       ├── 3.jpg
│       └── 4.jpg
└── labels
    ├── train
    │   ├── 1.txt
    │   └── 2.txt
    └── val
        ├── 3.txt
        └── 4.txt

打包

DATE=$(date '+%Y-%m-%d')
tar cvf sign-yolo-$DATE.tar labelimg/ classes.txt images/ labels data.yaml

上传数据集服务器

DATASET_SERVER_PATH=username@ip:/data/datasets
scp sign-yolo-$DATE.tar $DATASET_SERVER_PATH

SSH X11 Forwarding

macOS

XQuartz

  • 安装
brew cask install xquartz
  • 验证
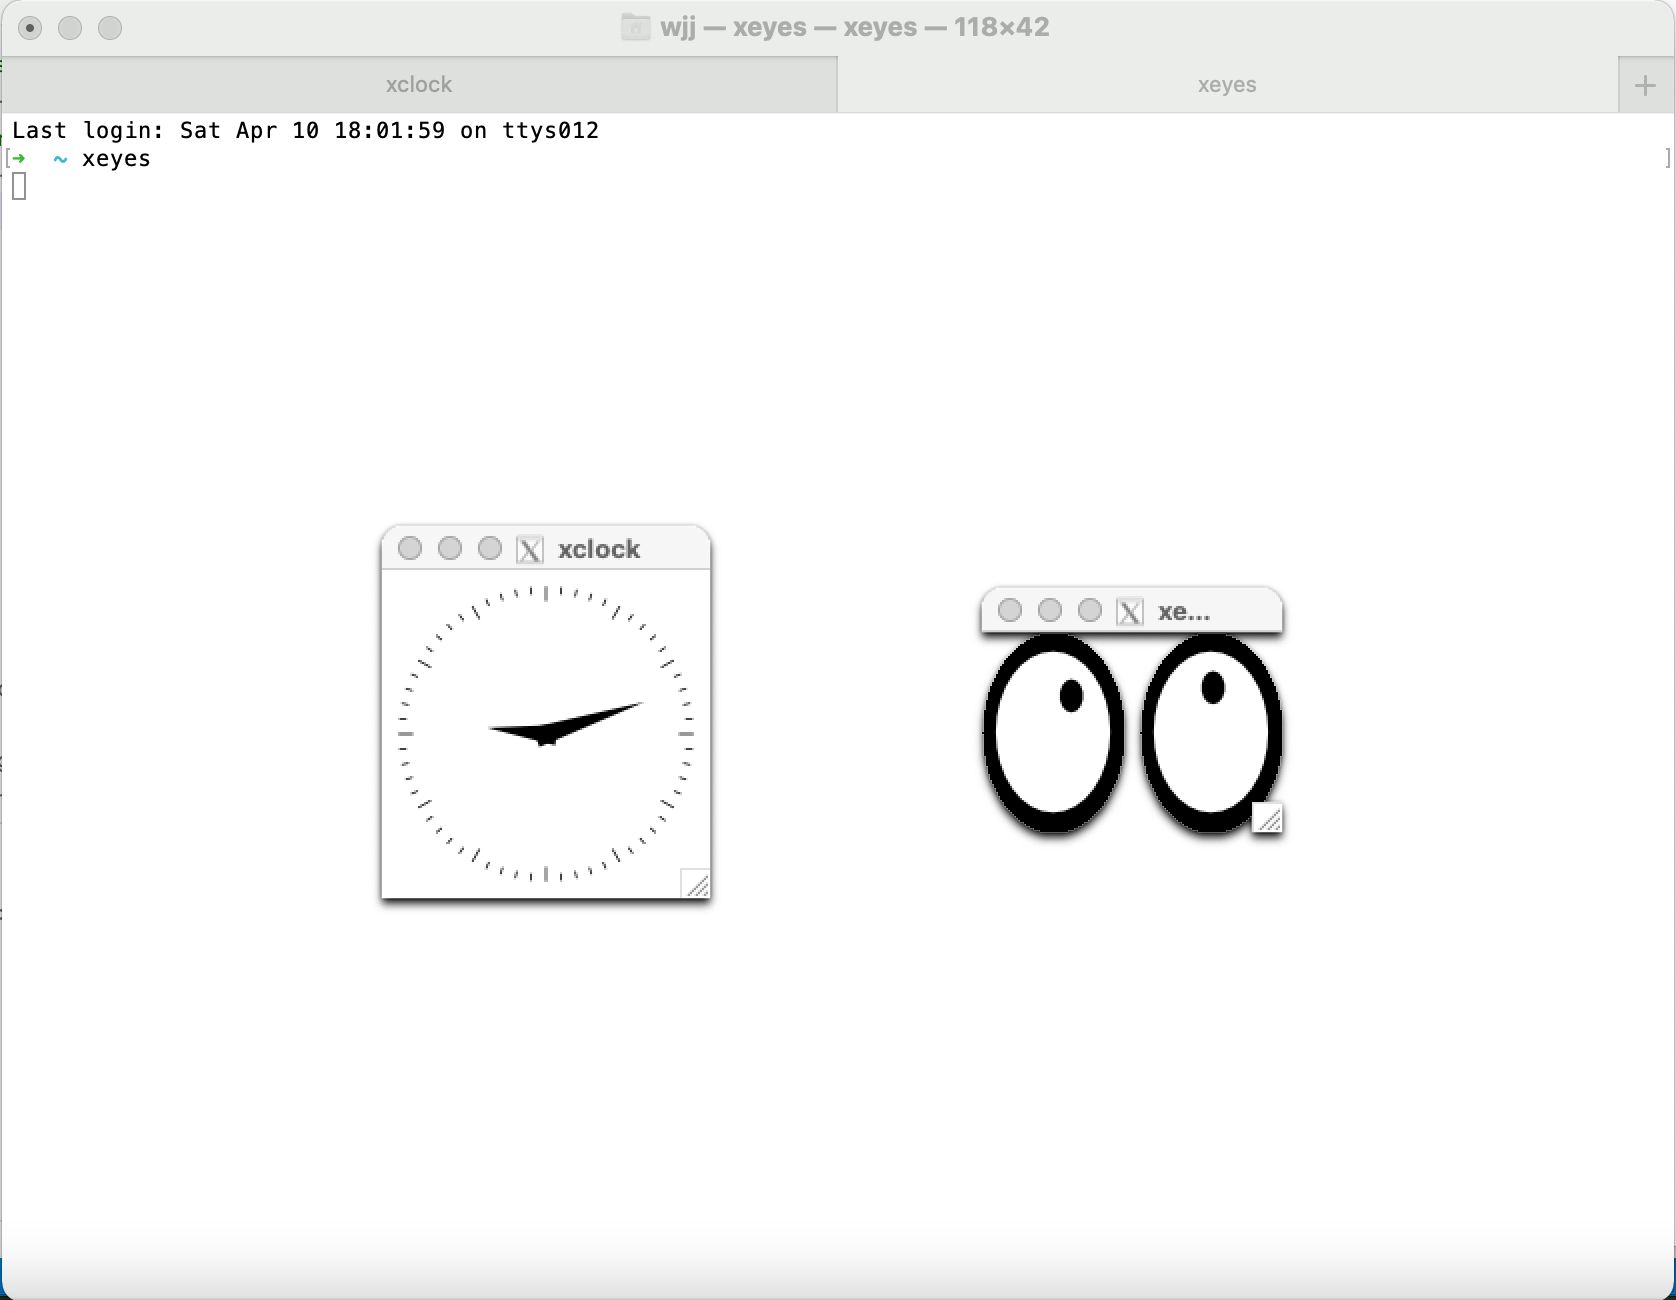
xclock
xeyes

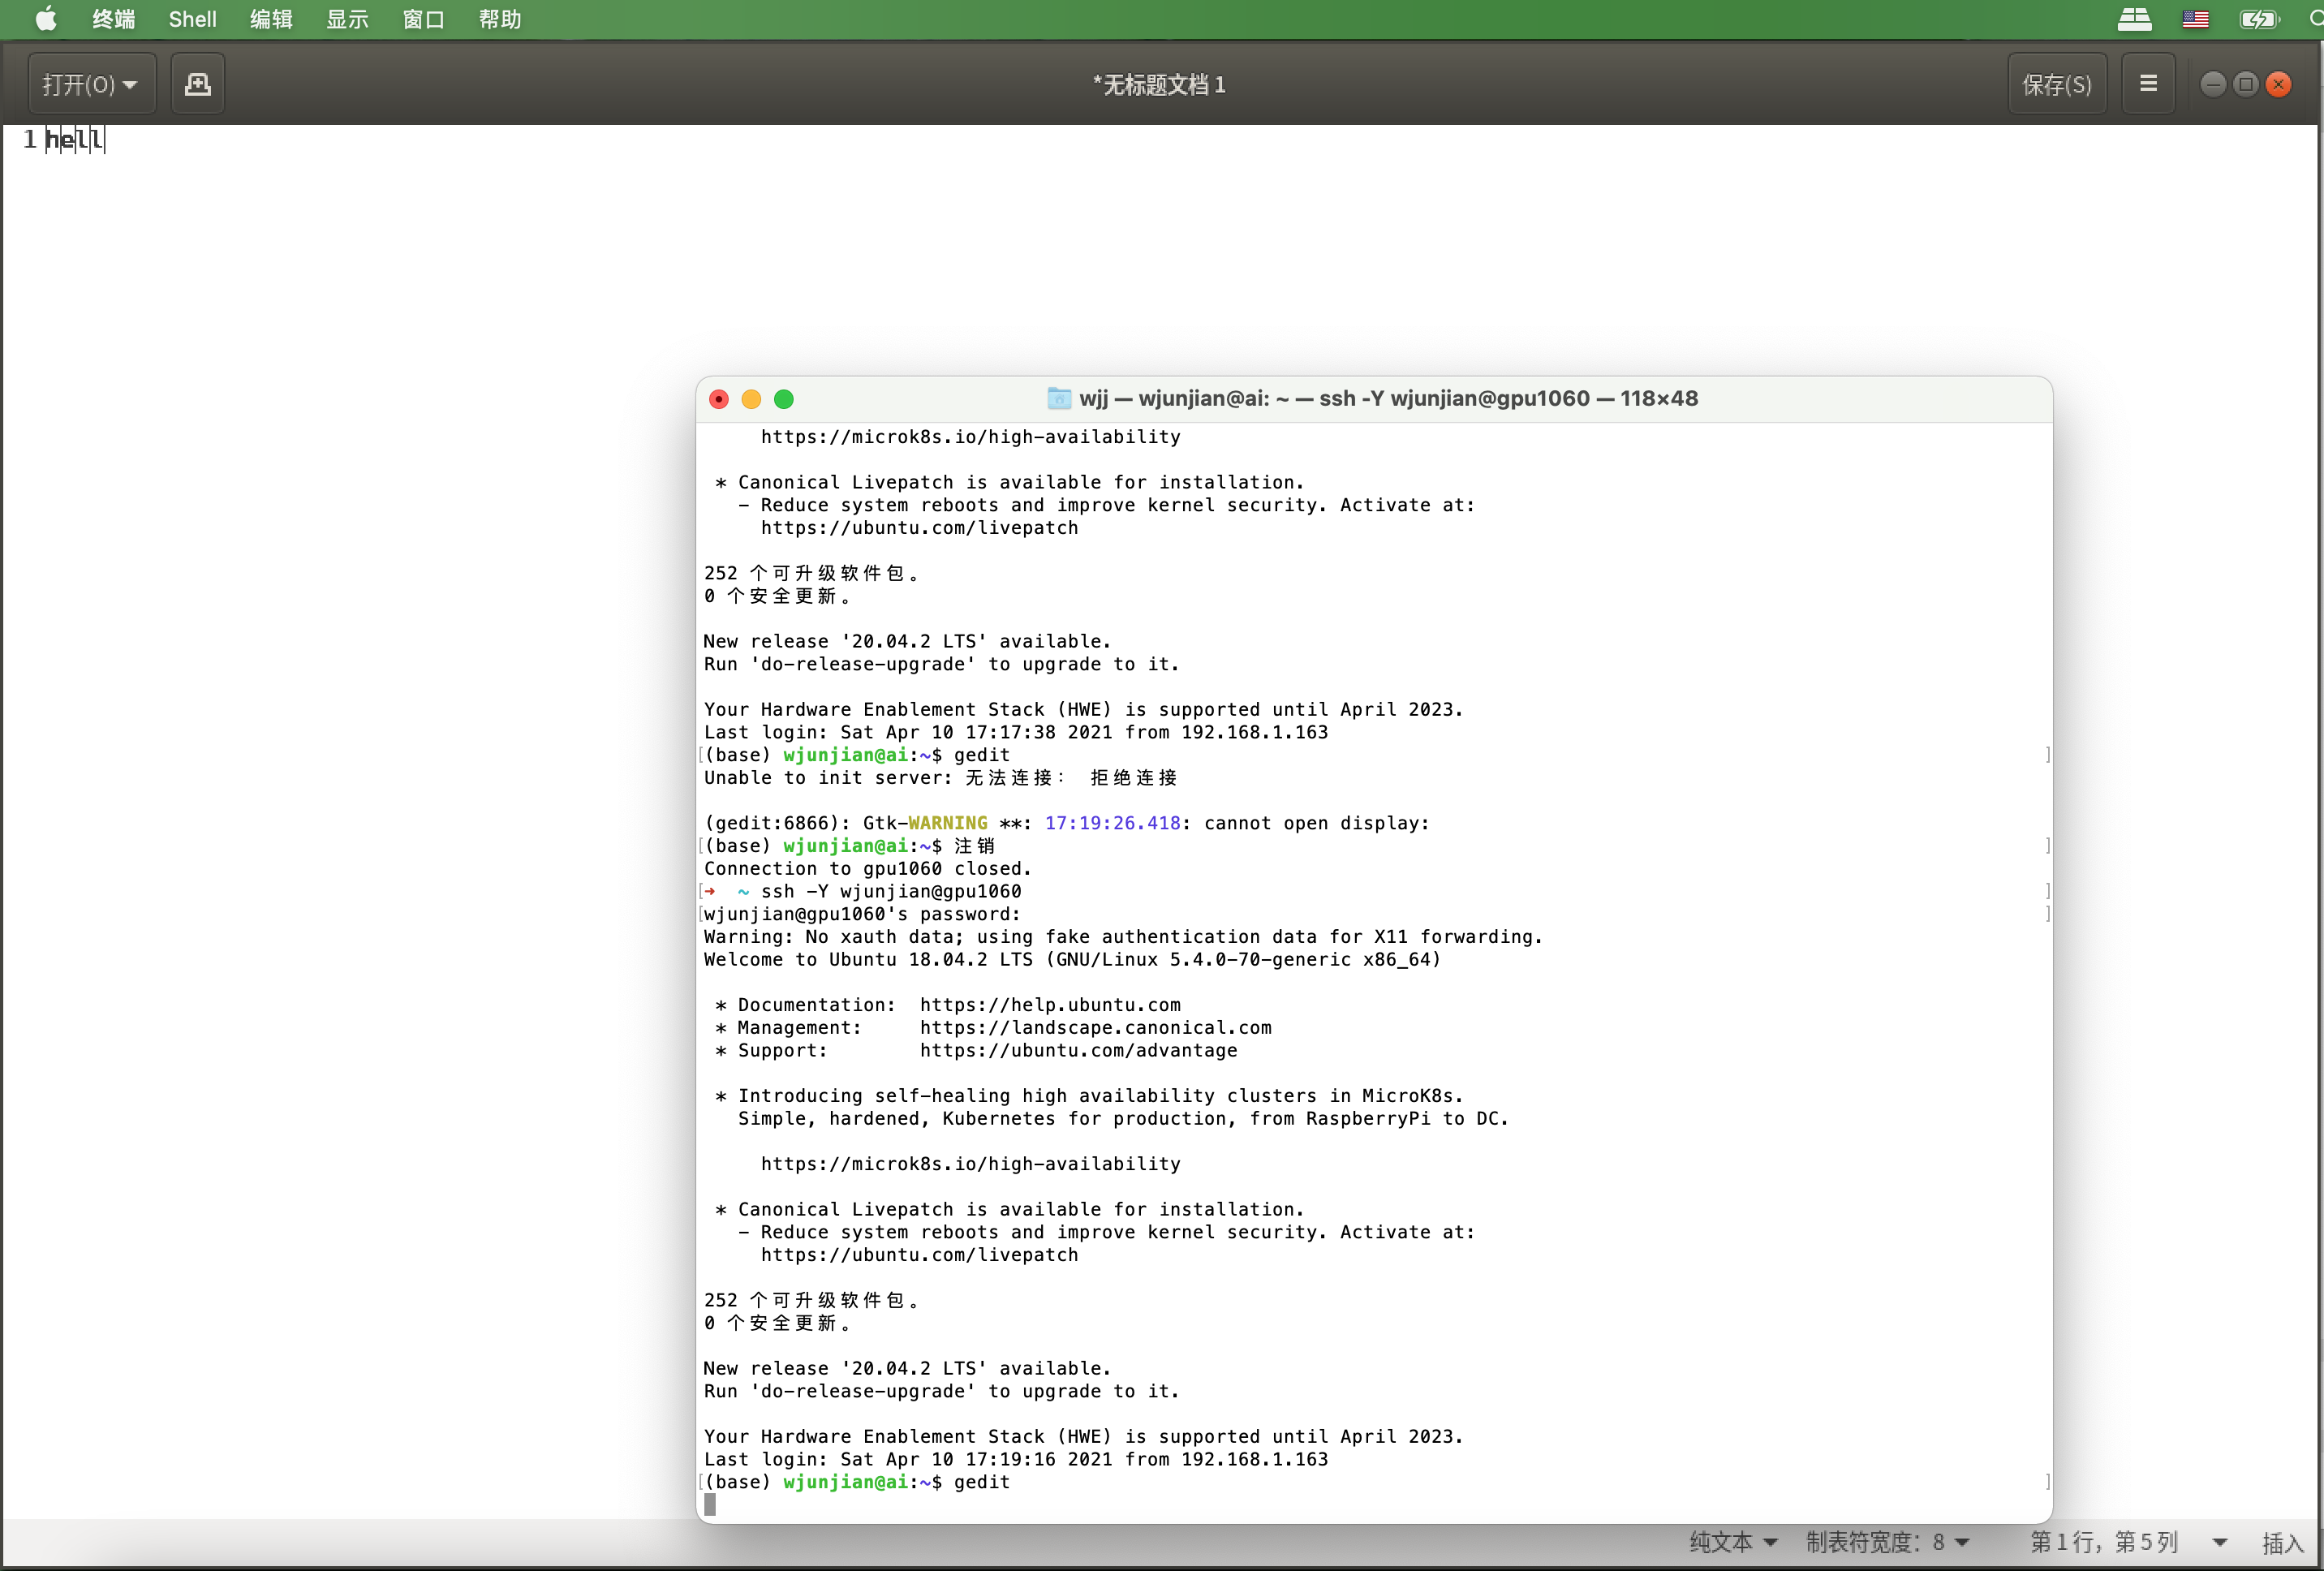
不使用XAuth

$ ssh -Y username@hostname
(base) username@hostname:~$ gedit

使用XAuth

  • 查找XAuth的位置
$ which xauth
/opt/X11/bin/xauth
  • 配置XAuth
$ vim ~/.ssh/config
Host *
    XAuthLocation /opt/X11/bin/xauth
  • SSH登录,可以尝试使用 ssh -X -vv 查看更多的失败信息。
$ ssh -X username@hostname
(base) username@hostname:~$ gedit

参考资料 How To Set Up And Use X11 Forwarding On Linux And Mac What does “Warning: untrusted X11 forwarding setup failed: xauth key data not generated” mean when ssh'ing with -X?

SSH 登录欢迎信息

终端登录时显示给用户的欢迎消息,无论是通过远程 SSH 登录还是直接通过 TTY 或终端,是 motd 的一部分,即 Message Of The Day 守护程序。 通过修改 /etc/update-motd.d 目录中的 /etc/motd 文件或脚本,可以自定义 motd 消息以适合每个用户或管理员的个性化需求。

附加 motd 消息 sudo sh -c 'echo "Hello World!" > /etc/motd' 退出后重新登录 $ ssh username@hostname Welcome to Ubuntu 20.04 LTS (GNU/Linux 5.4.0-53-generic x86_64) * Documentation: https://help.ubuntu.com * Management: https://landscape.canonical.com * Support: https://ubuntu.com/advantage System information as of Thu 29 Apr 2021 08:16:49 AM UTC System load: 7.85 Processes: 1046 Usage of /: 62.1% of 548.

VS Code远程开发 - SSH

架构图

安装

Remote

Local

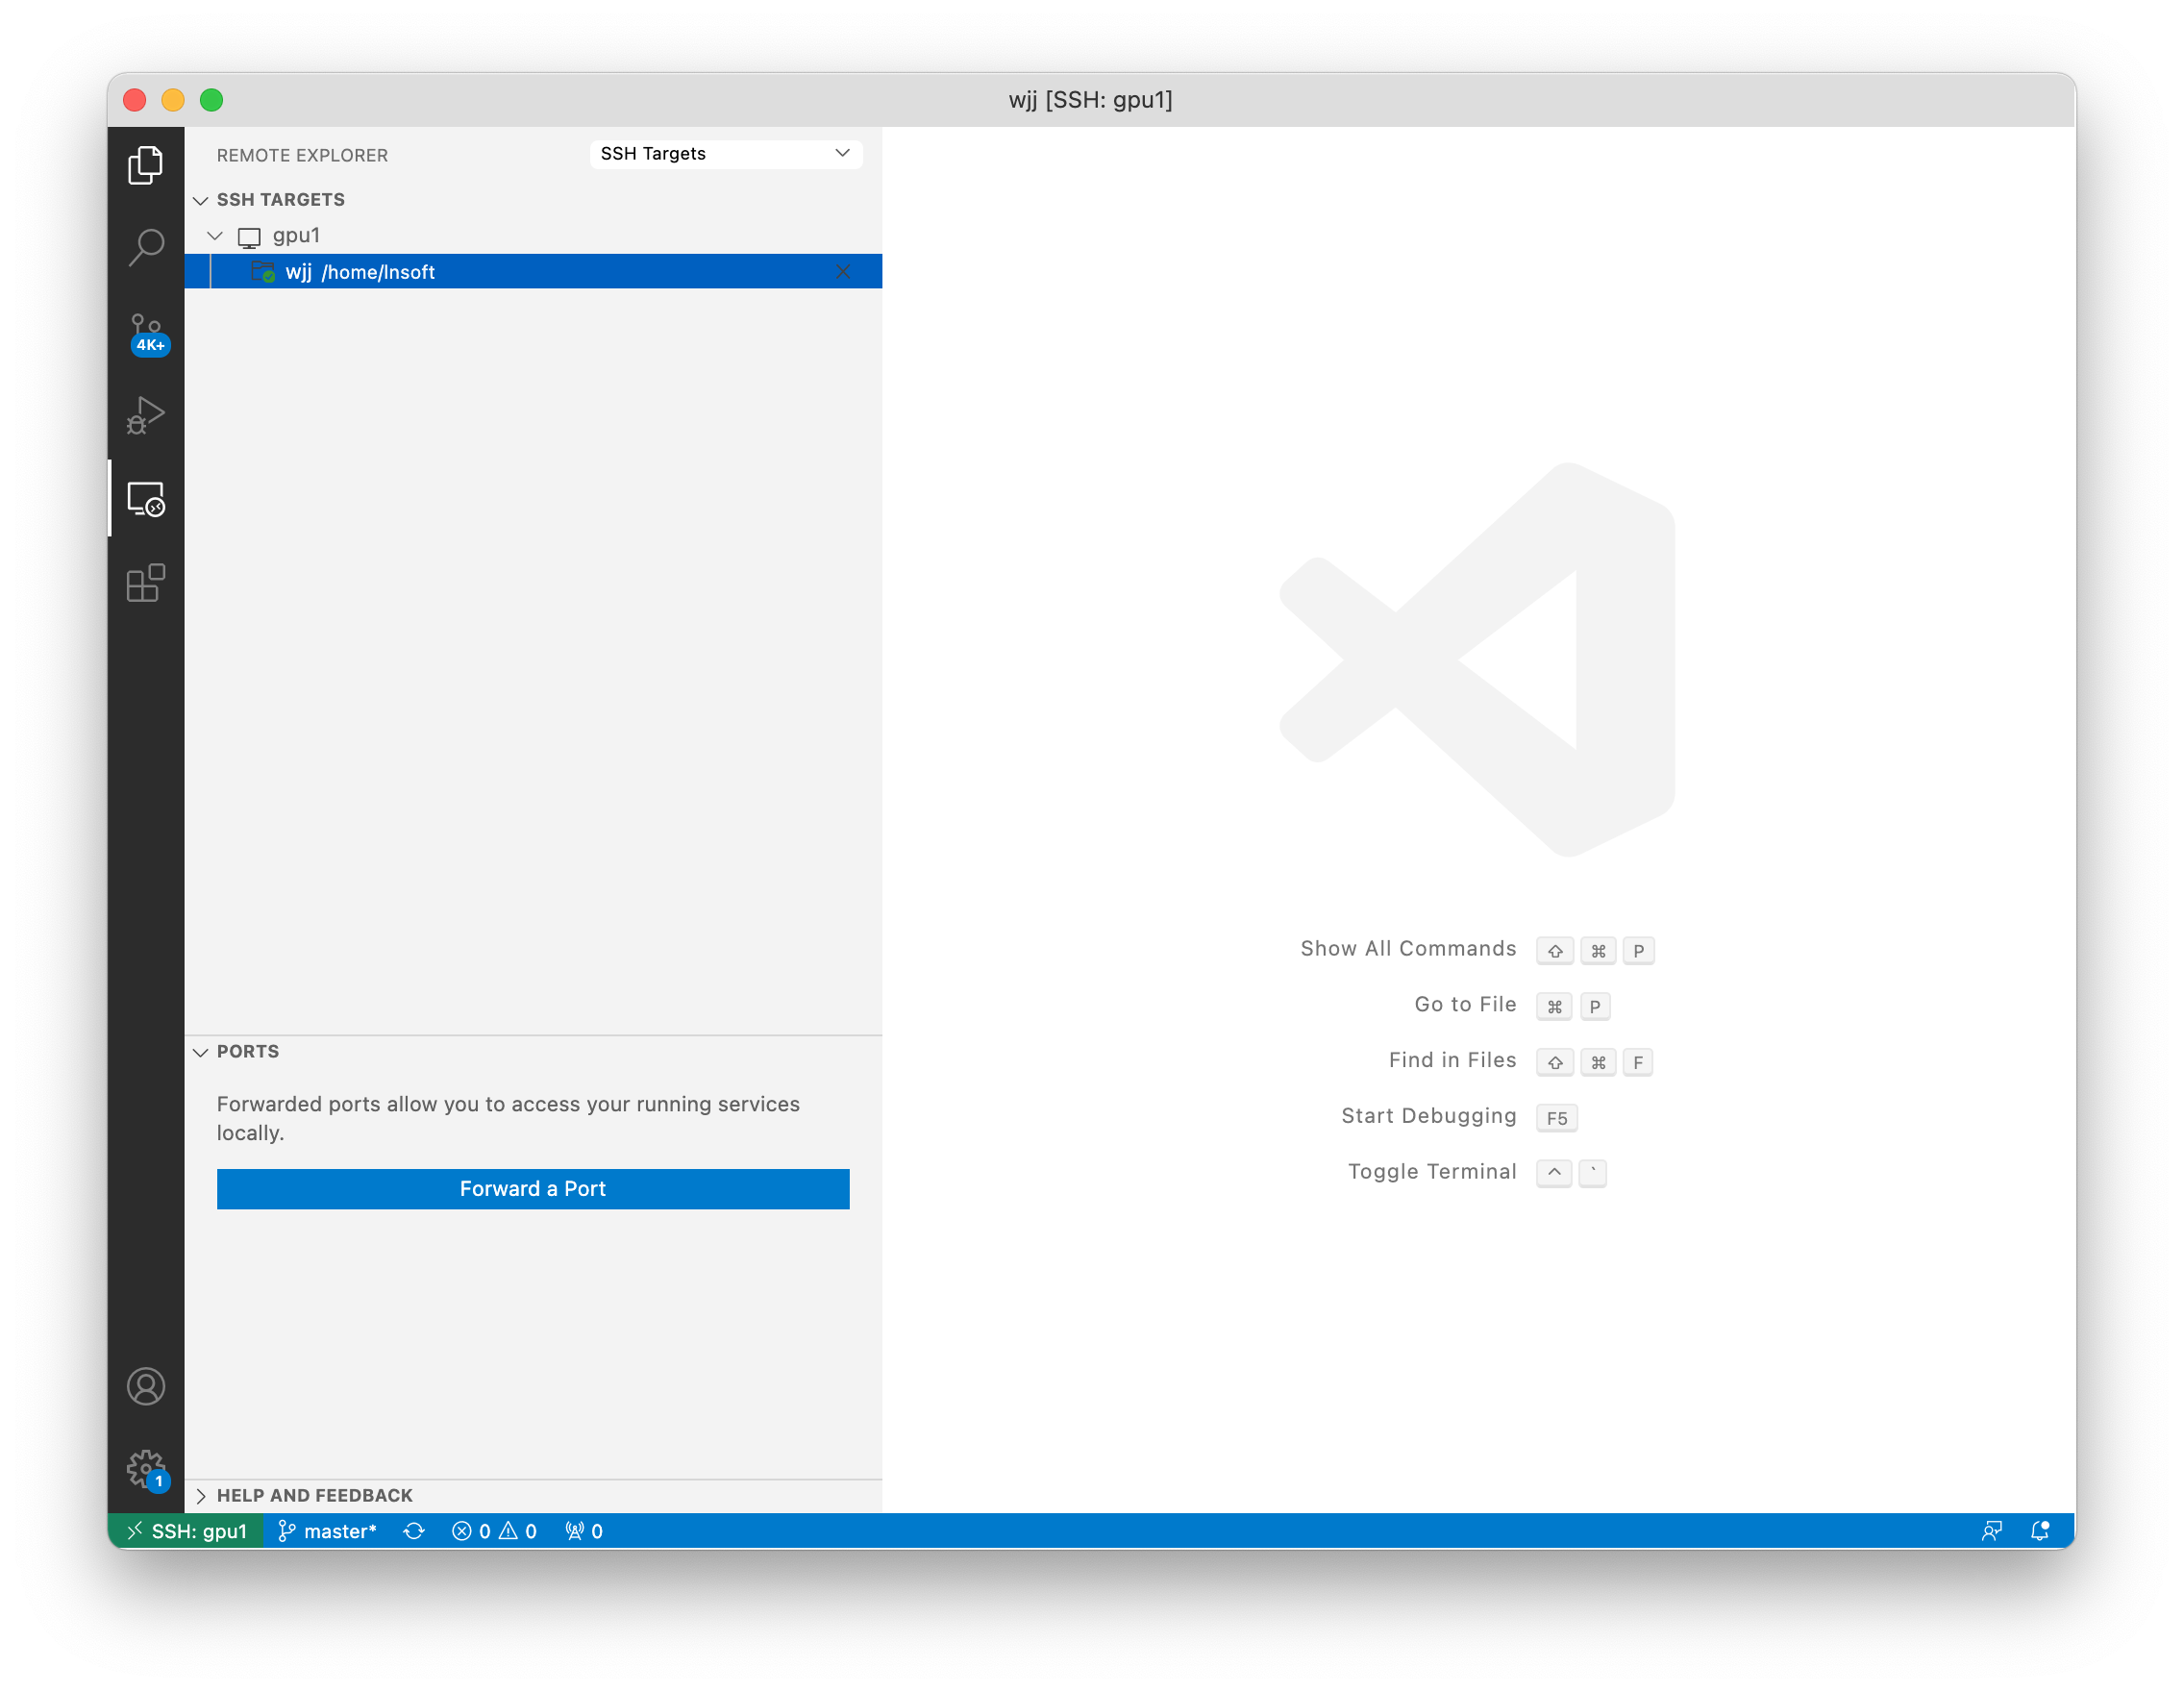
连接远程主机

  1. 在VS Code中, 按F1,选择Remote-SSH: Connect to Host...输入user@hostname。
  1. VS Code将连接到SSH服务器并进行设置。 VS Code将使用进度通知使您保持最新状态。

  1. 连接后,您将进入一个空窗口。 您始终可以参考状态栏来查看连接到的主机。

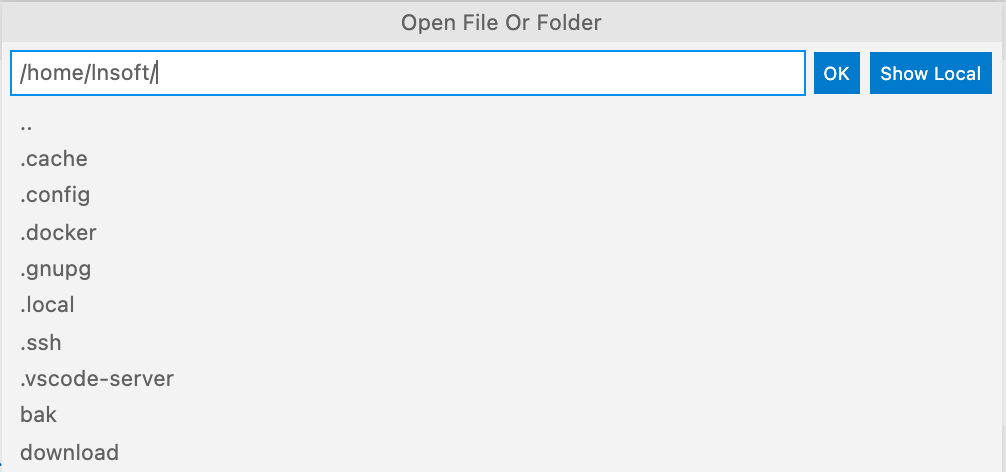
  1. 选择菜单:File > Open...

关闭远程连接

  • 选择菜单:File > Close Remote Connection。
  • 您可以简单地退出VS Code,也可以关闭远程连接。

Remote Explorer

管理您的远程连接

在远程主机上打开终端

选择菜单:Terminal > New Terminal

在远程主机调试

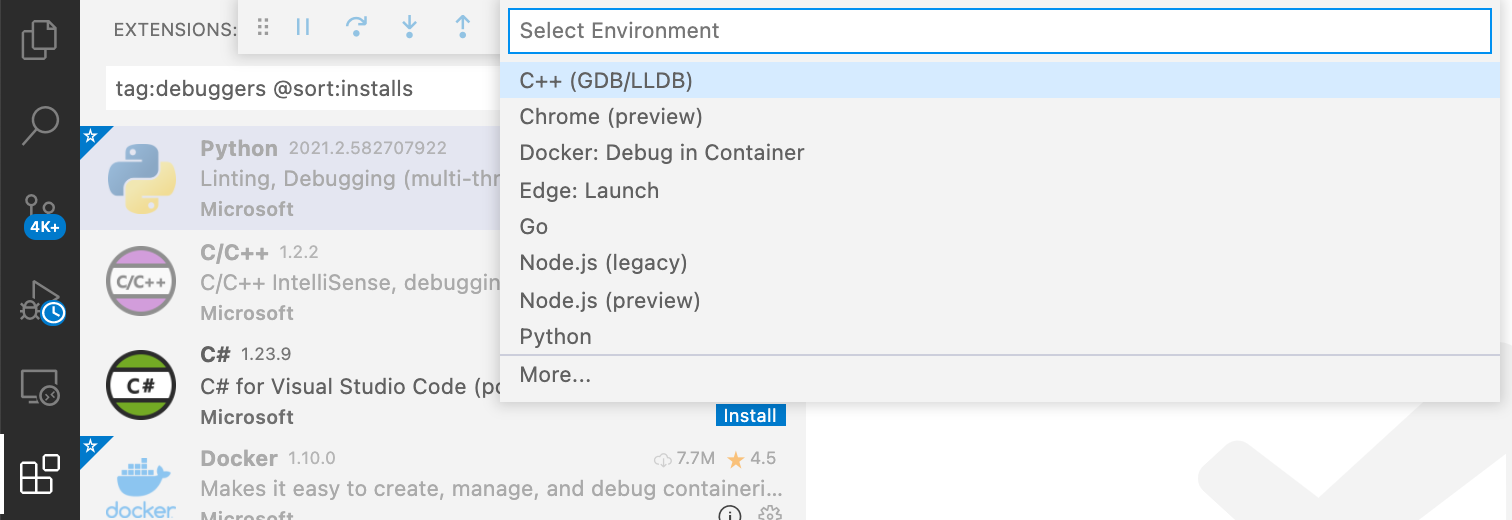
在Extensions窗口中选择要在远程主机上安装的调试器,按F5。

FAQ "Visual Studio Code is unable to watch for file changes in this large workspace" (error

SSH允许使用密码进行root登录

安装了Ubuntu系统后,默认ssh不允许使用密码进行root登录,通过如何配置可以实现允许。

登录root

$ su - root

查看ssh配置文件中的PermitRootLogin项

$ nano /etc/ssh/sshd_config
# Authentication:

#LoginGraceTime 2m
#PermitRootLogin prohibit-password
#StrictModes yes
#MaxAuthTries 6
#MaxSessions 10

修改ssh配置文件中的PermitRootLogin项:PermitRootLogin yes

$ sed -i 's/#PermitRootLogin prohibit-password/PermitRootLogin yes/g' /etc/ssh/sshd_config

查看ssh配置文件中的PermitRootLogin项

nano /etc/ssh/sshd_config
# Authentication:

#LoginGraceTime 2m
PermitRootLogin yes
#StrictModes yes
#MaxAuthTries 6
#MaxSessions 10

重启sshd服务

  • systemctl
$ systemctl restart sshd

SSH使用密匙登录

生成身份验证密钥

ssh-keygen -t rsa,在~/.ssh/目录下生成私匙id_rsa和公匙id_rsa.pub两个文件。

$ ssh-keygen -t rsa
Generating public/private rsa key pair.
Enter file in which to save the key (/home/username/.ssh/id_rsa): 直接回车
Enter passphrase (empty for no passphrase): 直接回车
Enter same passphrase again: 直接回车
Your identification has been saved in /home/username/.ssh/id_rsa.
Your public key has been saved in /home/username/.ssh/id_rsa.pub.
The key fingerprint is:
SHA256:foo-YWwIv/a/HGEGt9P6vvmff/QjBGEvzlYM4hBWeR0 username@hostname
The key's randomart image is:
+---[RSA 2048]----+
|         +oo.ooE.|
|        . o..o+. |
|      . .  .. .+ |
|  .    o o  o.o  |
|   o o  S .  +.  |
|    o =+ +  .. ..|
|     + .+ . . o..|
|    o .o = . + .o|
|   . o+o=o+o. o..|
+----[SHA256]-----+

开启SSH服务

Ubuntu

  • 安装、卸载SSH服务
sudo apt-get install openssh-server
sudo apt-get remove openssh-server
  • 启动、停止、重启SSH服务
sudo service ssh start
sudo service ssh stop
sudo service ssh restart
  • 查询SSH服务状态
service ssh status
  • 配置文件(更改配置需要重启SSH服务)
sudo vi /etc/ssh/sshd_config
  • 连接SSH服务
ssh username@ip -p 22
  • 设置、移除SSH服务开机自启动
sudo update-rc.d ssh defaults
sudo update-rc.d ssh remove
  • 查看SSH服务设置的自启动
ls /etc/rc*
......
......
ls -l /etc/rc2.d/S02ssh
    lrwxrwxrwx 1 root root 13 12月 25 16:33 /etc/rc2.d/S02ssh -> ../init.d/ssh

参考资料