7 篇文章带有标签 “proxy”

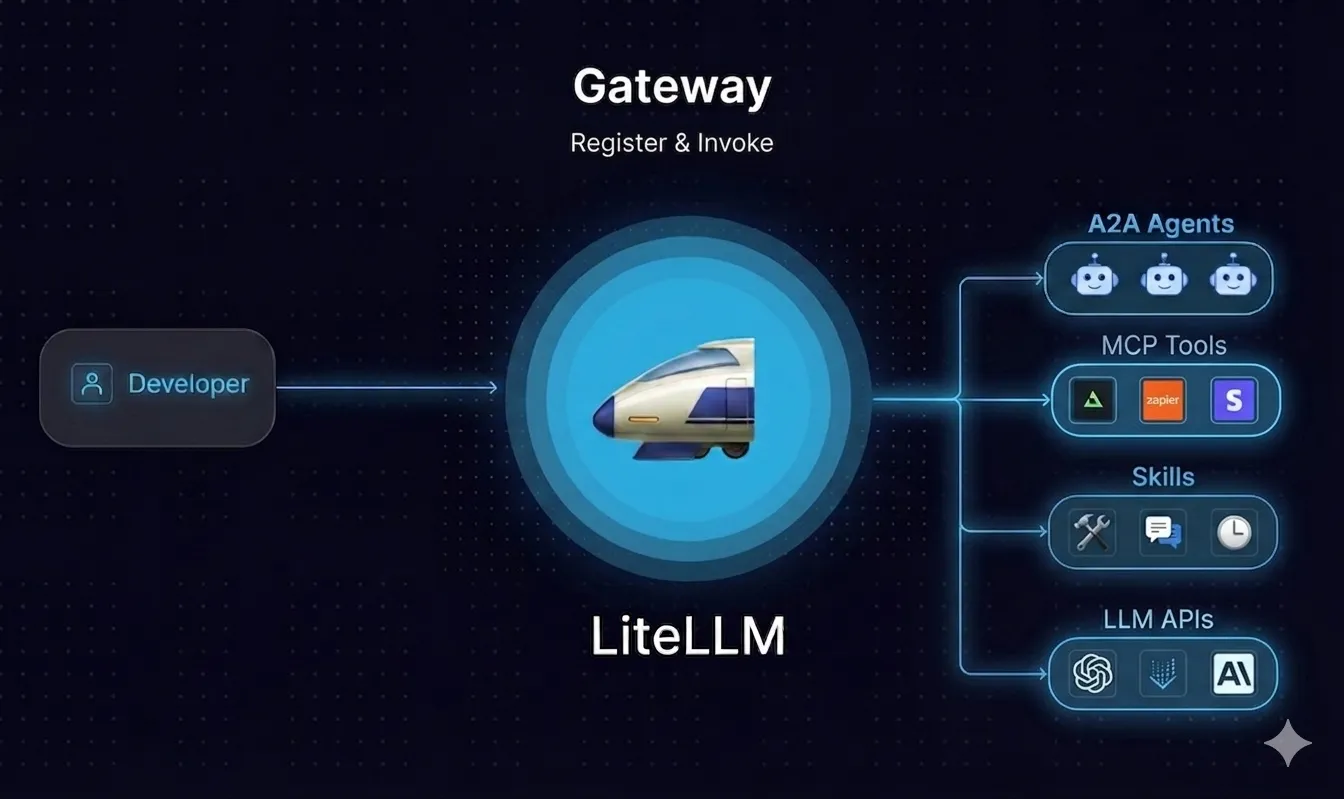
LiteLLM 代理实践:安装、配置与测试
安装

uv tool install 'litellm[proxy]'

配置

编写配置文件:config.yaml

model_list:
  - model_name: gpt-5
    litellm_params:
      model: openai/LongCat-2.0-Preview
      api_base: https://api.longcat.chat/openai/
      api_key: sk-xxx
  - model_name: gpt-5-nano
    litellm_params:
      model: openai/qwen3.5:9b
      api_base: http://localhost:11434/v1
      api_key: none

运行

litellm --config config.yaml

测试

⚠️ 通过测试说明 LiteLLM 代理只支持中转,上游没有提供对应的API支持(LongCat 只支持 Chat Completions),LiteLLM 也不支持。
构建本地 AI 技术栈

构建环境

选择 Python 版本

Python Releases

安装 LiteLLM + LangFuse

conda create -n litellm python==3.12.9 -y
conda activate litellm                     

pip install "litellm[proxy]" langfuse openai

LangFuse

部署(Docker)

git clone https://github.com/langfuse/langfuse.git
cd langfuse

docker compose up

注册用户

浏览器访问 http://localhost:3000/,单击 Sign up 注册一个新账户。

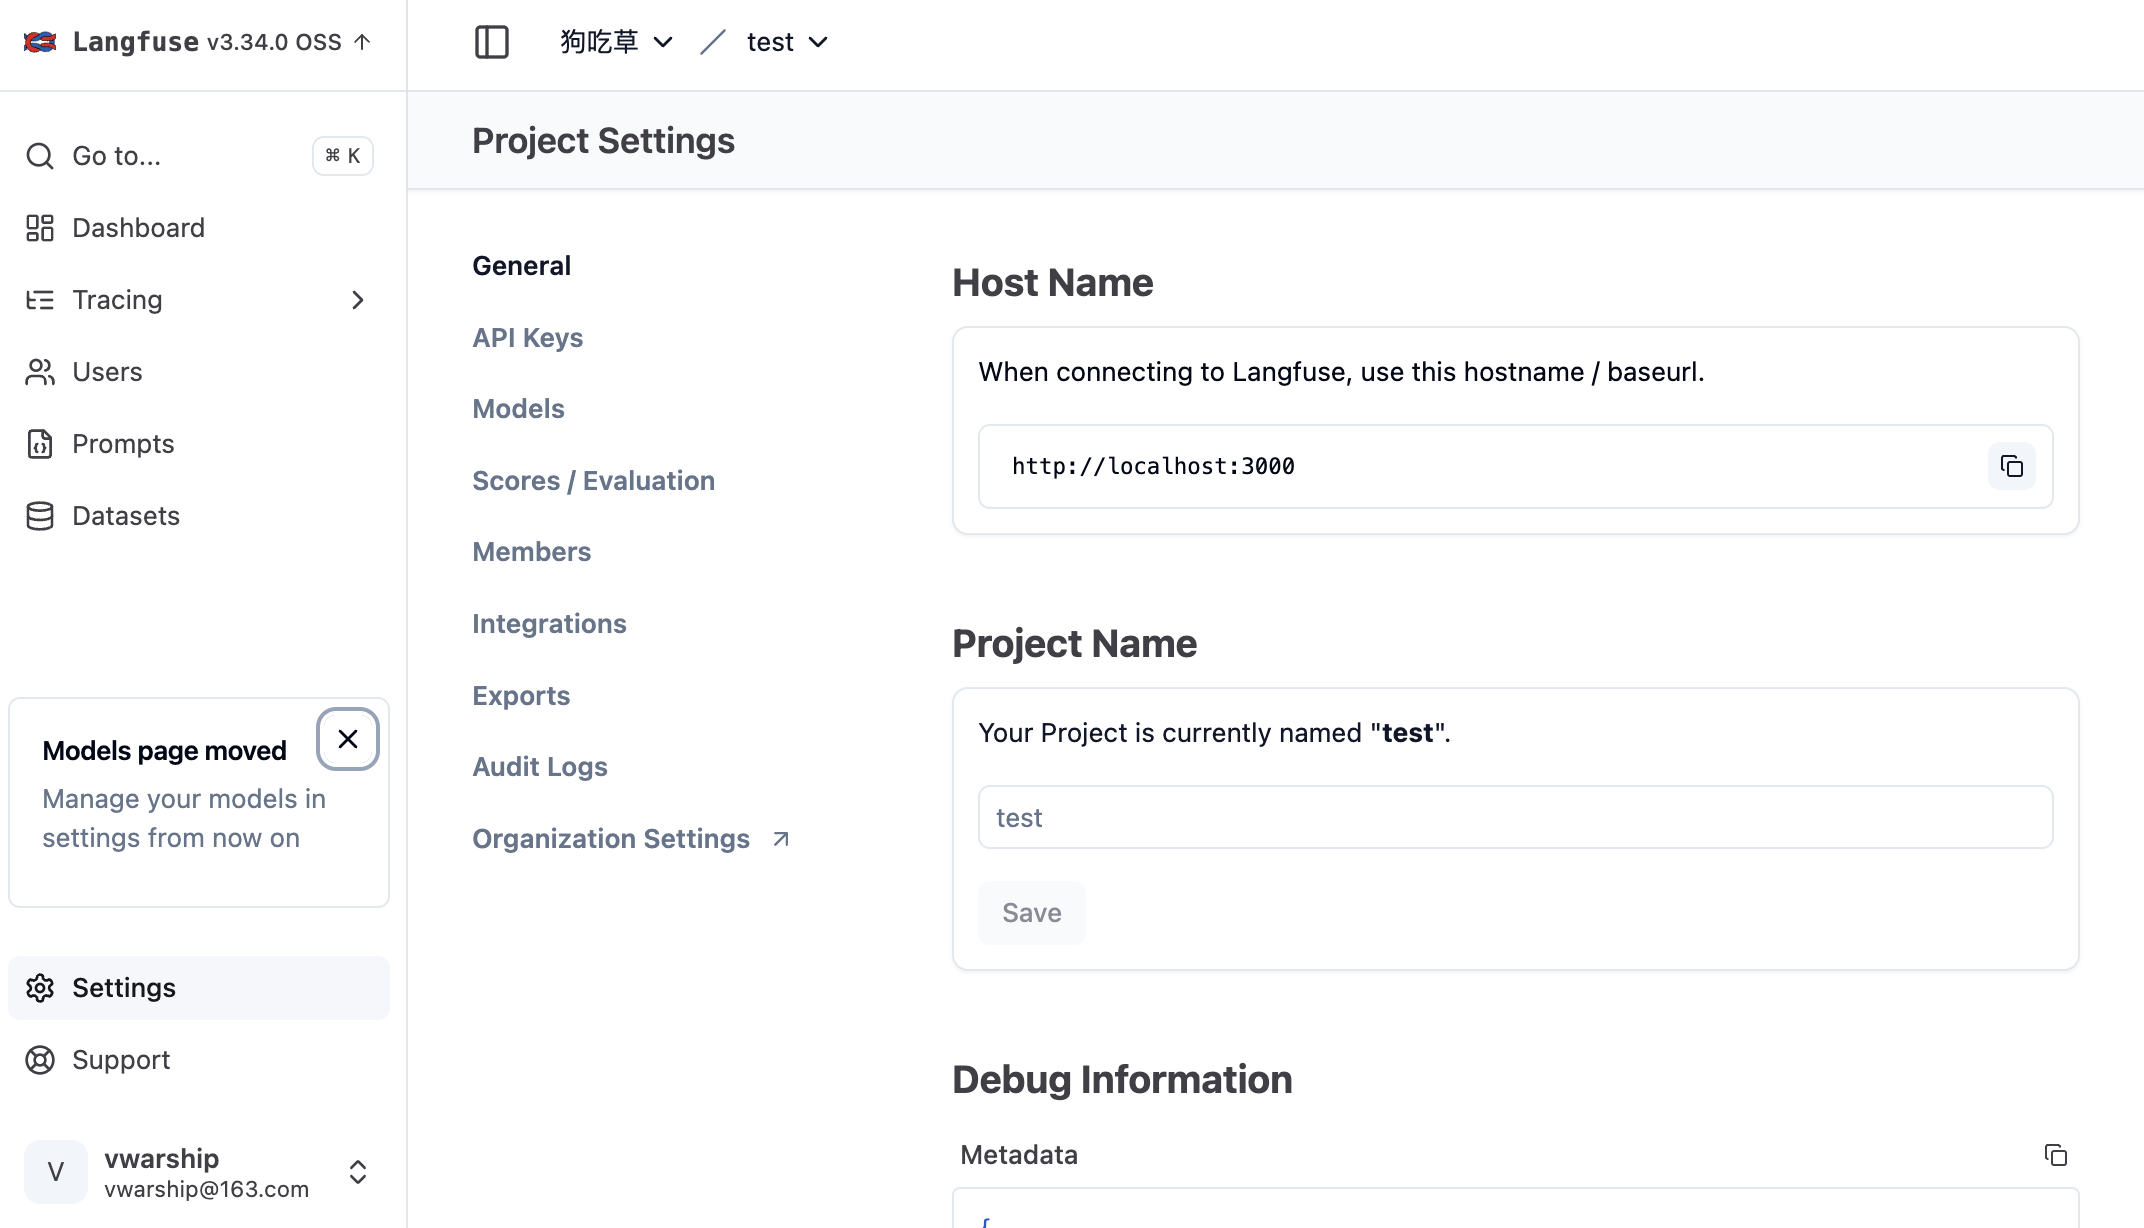
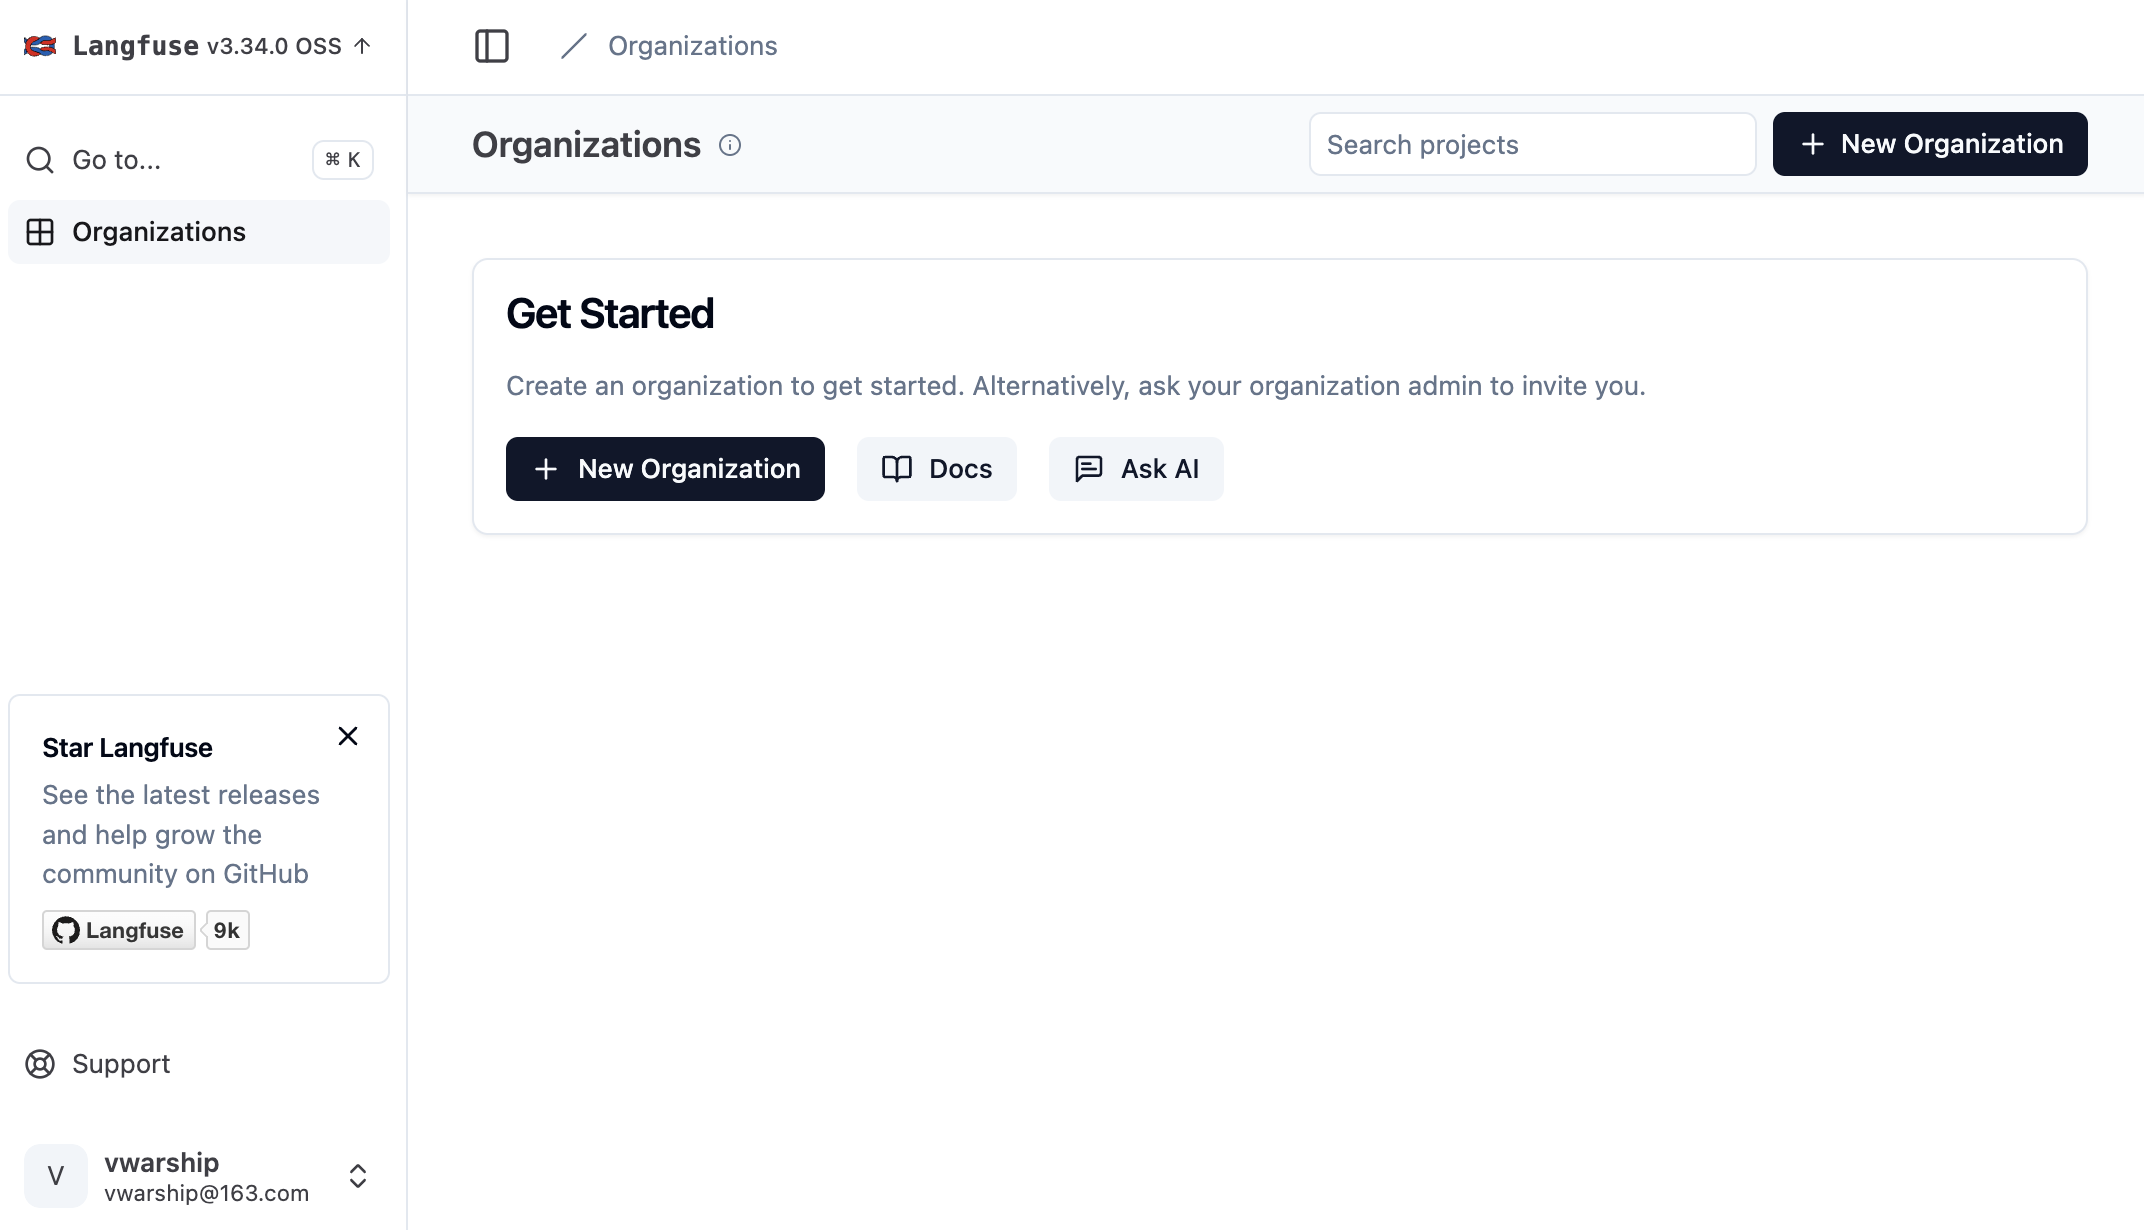
创建组织和工程

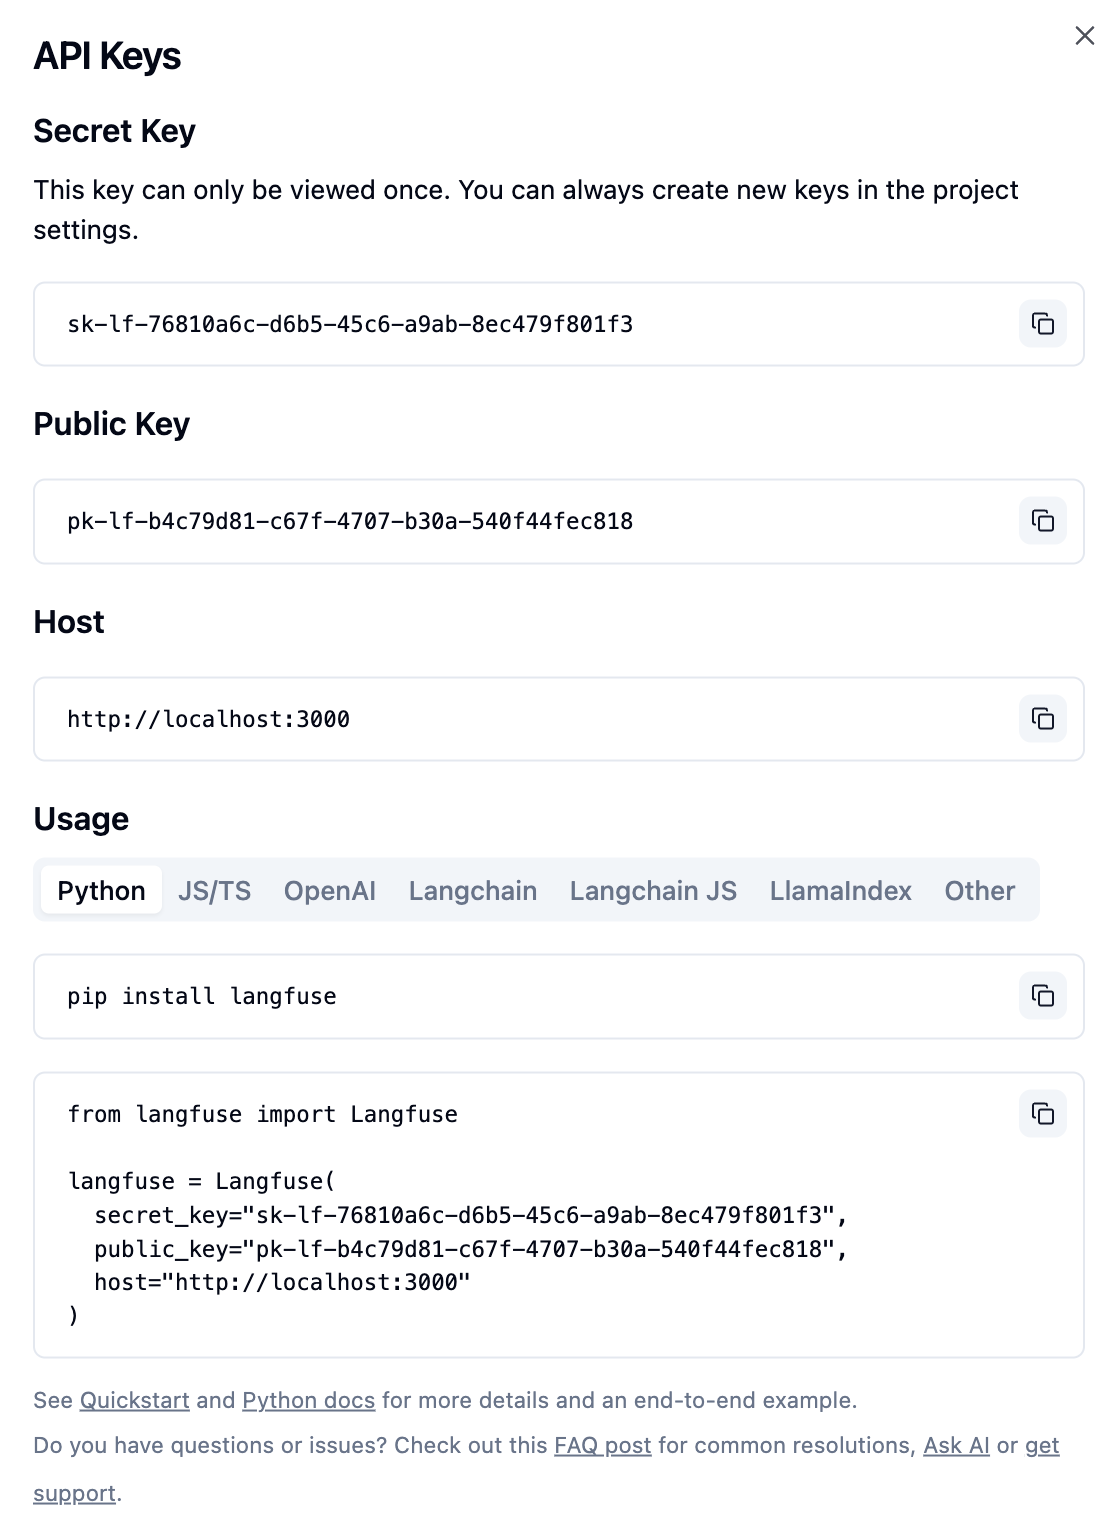
API Keys

LiteLLM

克隆 LiteLLM(可选)

git clone https://github.com/BerriAI/litellm
cd litellm

编辑配置 litellm_config.yaml

git 配置代理

我使用 v2ray 科学上网,并且已经开启了全局模式,所有网络连接都应该通过 v2ray 的代理服务器。但我使用 git 命令行应用发现不能连接 GitHub,但 GitHub Desktop 可以正常使用。

git clone https://github.com/wang-junjian/chatbox
Cloning into 'chatbox'...
fatal: unable to access 'https://github.com/wang-junjian/chatbox/': Failed to connect to github.com port 443 after 75011 ms: Couldn't connect to server

在这种情况下,你需要手动为 git 设置代理。

设置代理

git config --global http.proxy 'socks5://127.0.0.1:1080'
git config --global https.proxy 'socks5://127.0.0.1:1080'

这些命令将 git 的 HTTP 和 HTTPS 代理设置为 socks5://127.0.0.1:1080。你需要将 1080 替换为你的 v2ray 服务的端口。

安装Go

安装

https://golang.google.cn/dl/ 下载对应操作系统的安装包。

Mac

wget https://golang.google.cn/dl/go1.17.7.darwin-amd64.pkg

Linux

wget https://golang.google.cn/dl/go1.17.7.linux-amd64.tar.gz
sudo tar -C /usr/local/ -xzf go1.17.7.linux-amd64.tar.gz

Ubuntu

sudo apt install golang

配置

$ sudo vim /etc/profile
PATH=$PATH:/usr/local/go/bin

#Go代理配置(解决墙的问题)
export GOPROXY=https://goproxy.cn,direct
export GO111MODULE=on
$ source /etc/profile

查看 Go 版本信息

$ go version
go version go1.17.7 linux/amd64

参考资料

安装Kubernetes Dashboard

用户界面 Dashboard

Dashboard 是基于网页的 Kubernetes 用户界面。您可以使用 Dashboard 将容器应用部署到 Kubernetes 集群中,也可以对容器应用排错,还能管理集群资源。您可以使用 Dashboard 获取运行在集群中的应用的概览信息,也可以创建或者修改 Kubernetes 资源(如 Deployment,Job,DaemonSet 等等)。例如,您可以对 Deployment 实现弹性伸缩、发起滚动升级、重启 Pod 或者使用向导创建新的应用。

部署 Dashboard

安装 Dashboard

kubectl apply -f https://raw.githubusercontent.com/kubernetes/dashboard/v2.4.0/aio/deploy/recommended.yaml

过几分钟后您将看到 kubernetes-dashboard 名字空间下会有 Pod 运行。

GitHub加速

通过网游加速器

在路径上增加 .cnpmjs.org

正常下载:git clone https://github.com/microsoft/onnxruntime.git

加速下载:git clone https://github.com.cnpmjs.org/microsoft/onnxruntime.git

查找当前位置距离最快的 GitHub IP

运行测速脚本 gh-check

curl -fsSL  https://gist.githubusercontent.com/lilydjwg/93d33ed04547e1b9f7a86b64ef2ed058/raw/134c1971ad95930aaec4cf93c8509f0f4927c03c/gh-check \
    | python3 -

文件 hosts 路径

  • Windows
C:\Windows\System32\drivers\etc\hosts
  • Mac OS X
/etc/hosts
  • Linux
/etc/hosts

修改 hosts 文件

199.232.69.194 github.global.ssl.fastly.net
140.82.112.4 github.com

下载

git clone https://github.com/microsoft/onnxruntime.git

基于Apt-Cacher NG创建本地Ubuntu存储库

安装 Apt-Cacher-NG

$ sudo apt install apt-cacher-ng
$ sudo systemctl enable apt-cacher-ng
$ sudo service apt-cacher-ng start

配置

$ sudo nano /etc/apt-cacher-ng/acng.conf
  • CacheDir: /var/cache/apt-cacher-ng
  • LogDir: /var/log/apt-cacher-ng

查看缓存目录的数据

$ du -sh /var/cache/apt-cacher-ng/
19M	/var/cache/apt-cacher-ng/

客户端配置

$ sudo nano /etc/apt/apt.conf.d/00aptproxy
Acquire::http::Proxy "http://172.16.33.157:3142";

安装软件

$ sudo apt install nodejs

参考资料 使用apt-cacher-ng的快速Debian/Ubuntu軟件包緩存代理設置 使用“ apt-cacher”设置“ apt-cache”服务器 使用 apt-mir